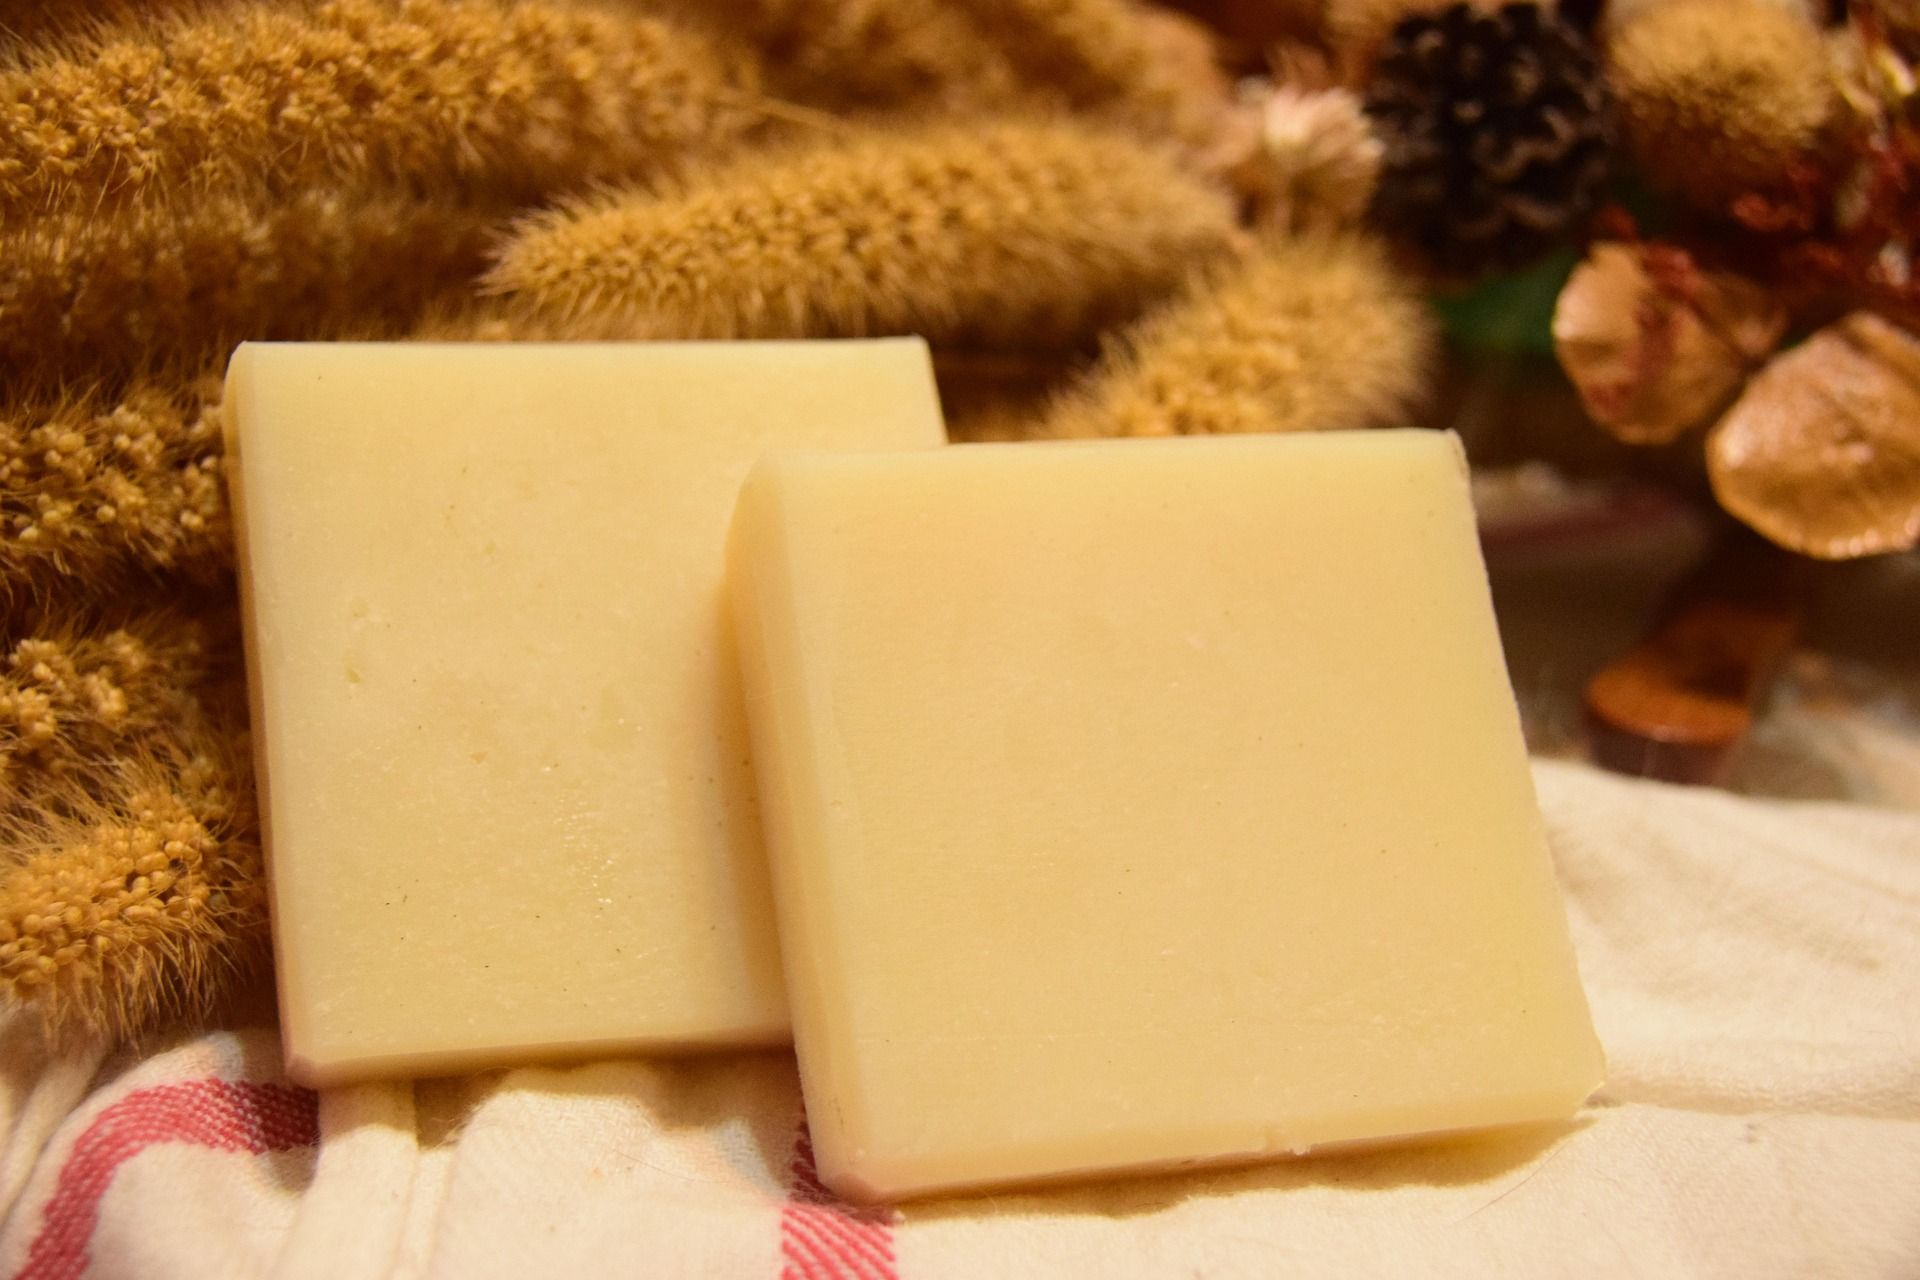
Goat milk soap is often called the "aristocrat" of handmade soaps due to its gentle and moisturizing properties. Rich in natural fats and vitamins, it's especially kind to sensitive and dry skin. If you want to create your own luxurious goat milk soap but don't know where to start, don't worry! This tutorial will guide you through every key step of making goat milk soap using the cold process method, helping you easily master this craft.
Step One: Preparation Before You Begin
Safety is the most important part of all handmade soap making, as the process involves using sodium hydroxide (commonly known as "lye"). You must wear safety goggles and acid/alkaline-resistant gloves and work in a well-ventilated area.
Tools and Ingredients Checklist:
Digital scale
Stainless steel pot (for heating oils)
Stainless steel whisk or stick blender
Thermometer (at least 2)
Heat-resistant plastic or stainless steel container (for mixing the lye solution)
Silicone or wooden molds
Freezer (for freezing the goat milk)
Goat milk (must be frozen into cubes)
Recipe-specific oils (e.g., olive oil, coconut oil, palm oil, shea butter, etc.)
Sodium hydroxide
Step Two: Making Goat Milk Soap: 6 Key Steps
Step 1: Prepare the Frozen Goat Milk Lye Solution (The Most Critical Step!) This is the most crucial step in goat milk soap making, as it prevents the goat milk from scorching due to high temperatures, thereby preserving its nutrients. Place the precisely weighed frozen goat milk cubes into a heat-resistant container. Slowly and in small portions, sprinkle the weighed sodium hydroxide powder over the ice cubes, stirring constantly. The cubes will melt and generate heat, but the ice will keep the temperature from skyrocketing. Once all the sodium hydroxide is dissolved, place the container in an ice bath and continue stirring to cool it down.
Step 2: Melt the Oils Weigh all the oils from your recipe and place them in a stainless steel pot. Heat on low until all solid oils are completely melted, then turn off the heat.
Step 3: Measure the Temperature Use two thermometers to measure the temperature of the lye solution and the oils. When both have cooled to the ideal range of 95°F - 113°F (35°C - 45°C), you can proceed to the next step.
Step 4: Mix to "Trace" Slowly and steadily pour the lye solution into the oils, continuously stirring with a stick blender or whisk. The mixture will gradually thicken. When you can drizzle some of the soap onto the surface and it leaves a visible mark that doesn't immediately disappear (like a thick soup), it has reached "trace."
Step 5: Pour into the Mold Quickly pour the soap batter into the prepared mold. You can use a spatula to smooth the surface. Then, wrap the mold in a towel or blanket for about 24 hours of insulation.
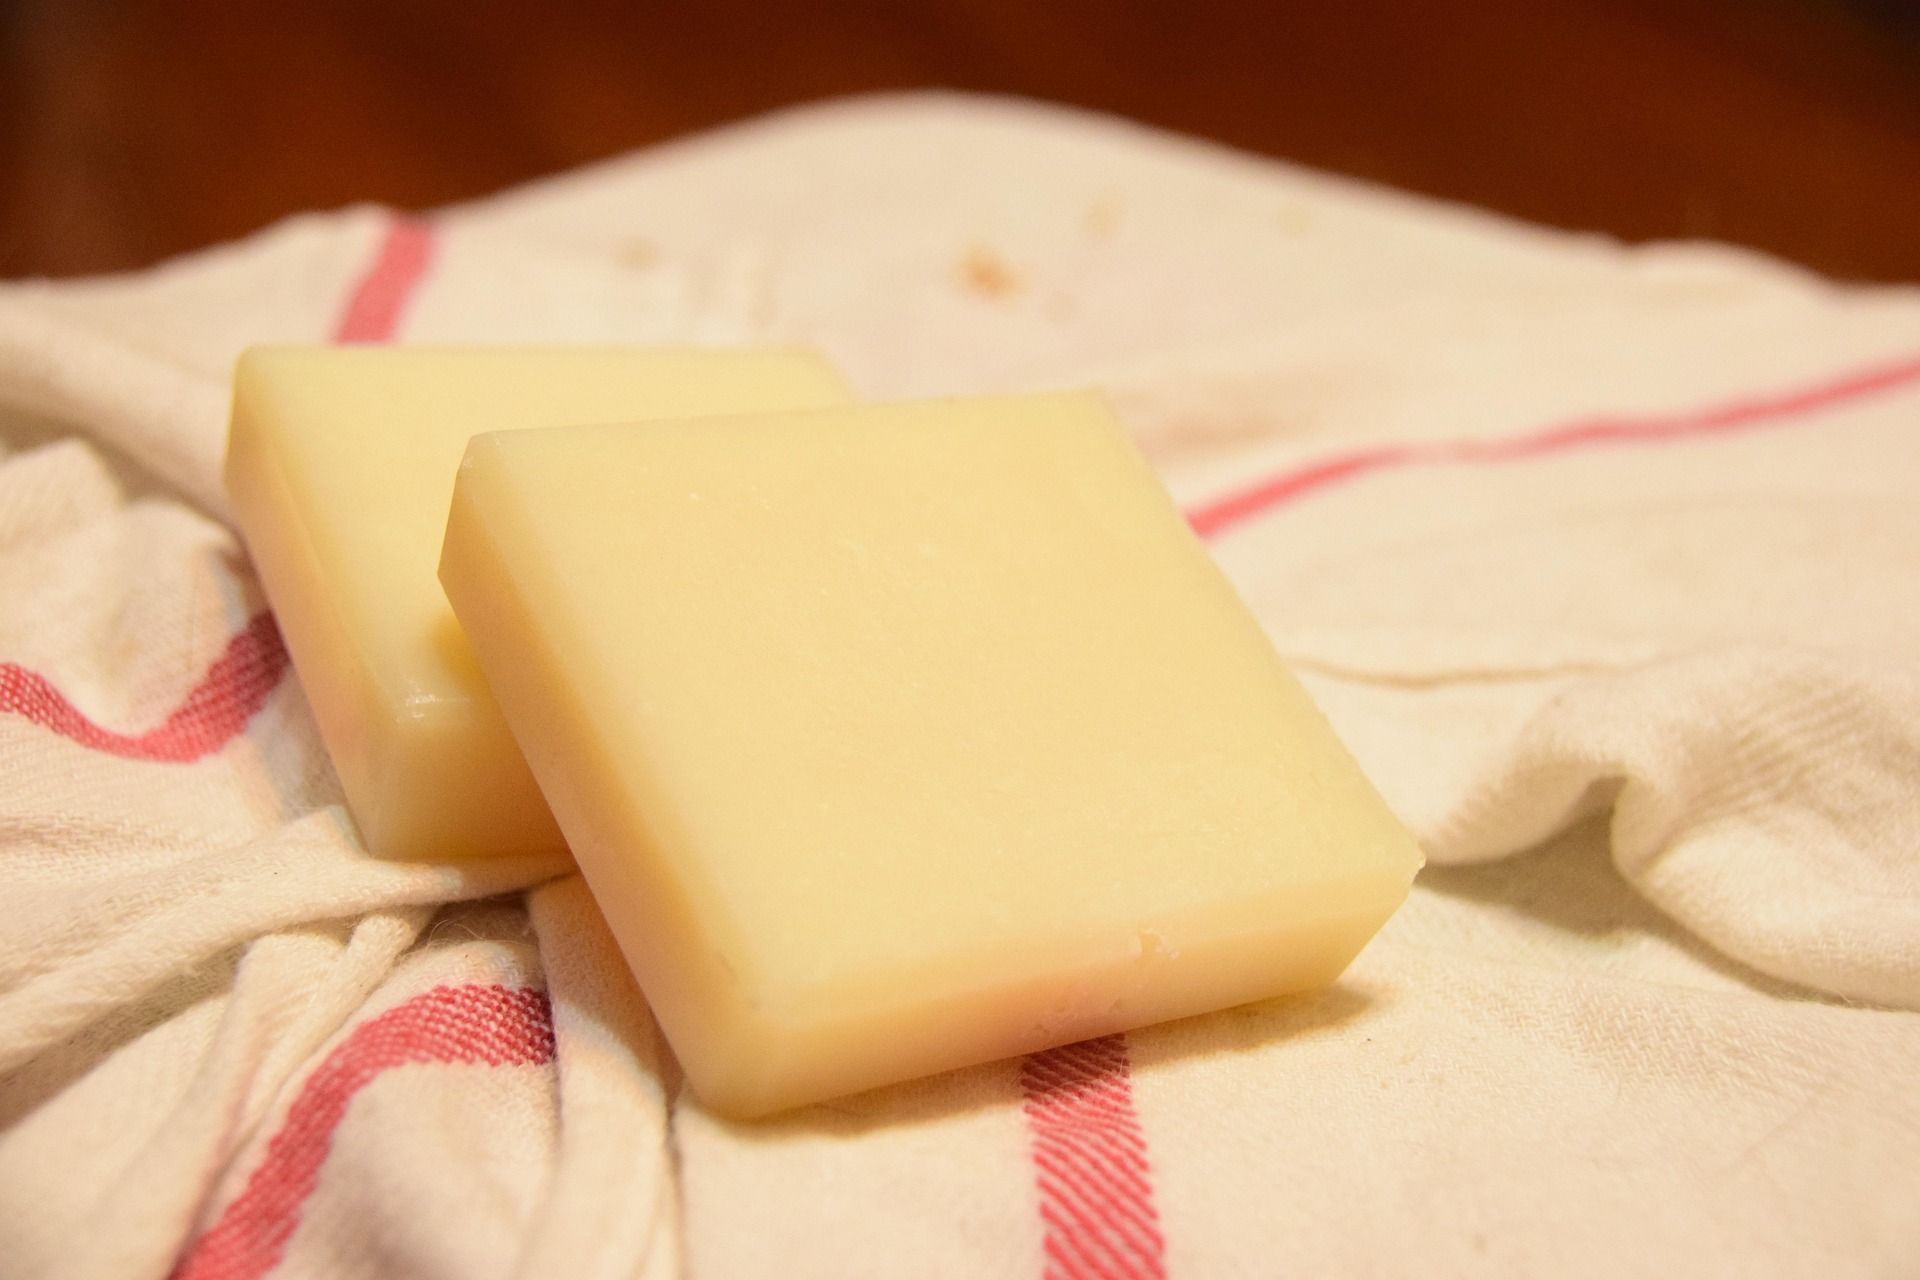
Step 6: Unmold and Cure After 24-48 hours, the soap should be hard enough to carefully unmold. Cut the goat milk soap into bars, then place them in a cool, dry, and well-ventilated area for a 4-6 week curing period. Curing makes the soap milder, harder, and creates richer lather.
Common Questions & Answers
Q: Why does the goat milk turn yellow during the process? A: This is a normal reaction when goat milk reacts with sodium hydroxide. As long as it's not overly heated, this will not affect the goat milk soap's quality or benefits.
Q: Why does the soap batter harden too quickly? A: This might be due to the oils and lye solution being too hot or stirring too quickly. Next time, try to lower the mixing temperature and reduce the blending time.
Congratulations! By following these steps, you have successfully made your very own handmade goat milk soap. After patiently waiting for the curing period to end, you can enjoy this gentle, nourishing, and heartfelt natural product.