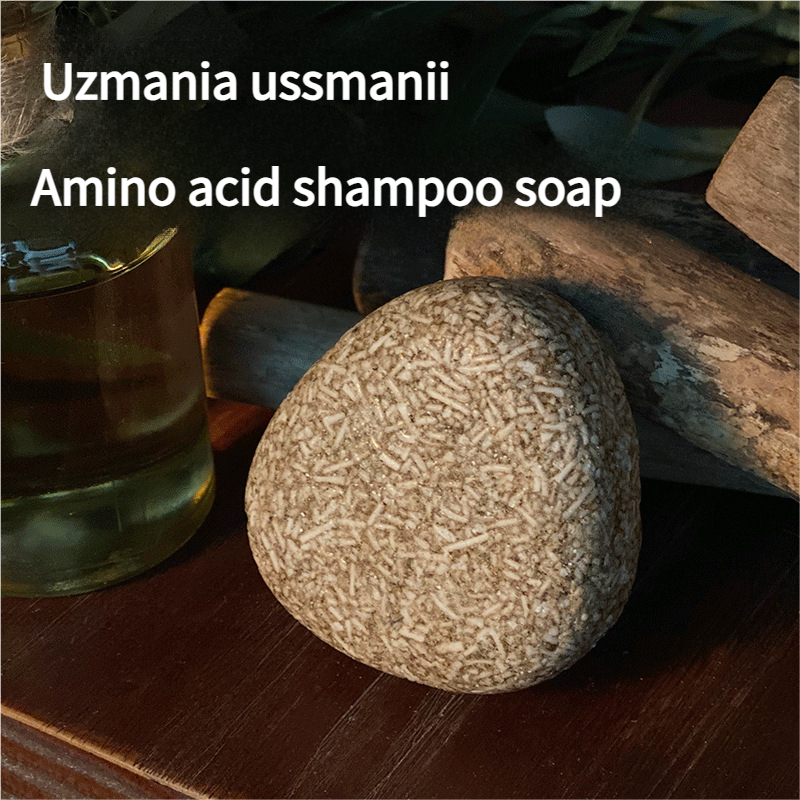
Among all handmade soaps, amino acid soap stands out for its gentle and non-irritating properties, earning it the title of a "savior" for sensitive skin. Many people think amino acid soap is complicated to make and involves handling dangerous lye. In reality, with a simple DIY method, you can safely handcraft a bar of your very own amino acid soap at home!
This tutorial will give you a detailed breakdown of the DIY amino acid soap making process, so even if you have zero experience, you can easily get started.
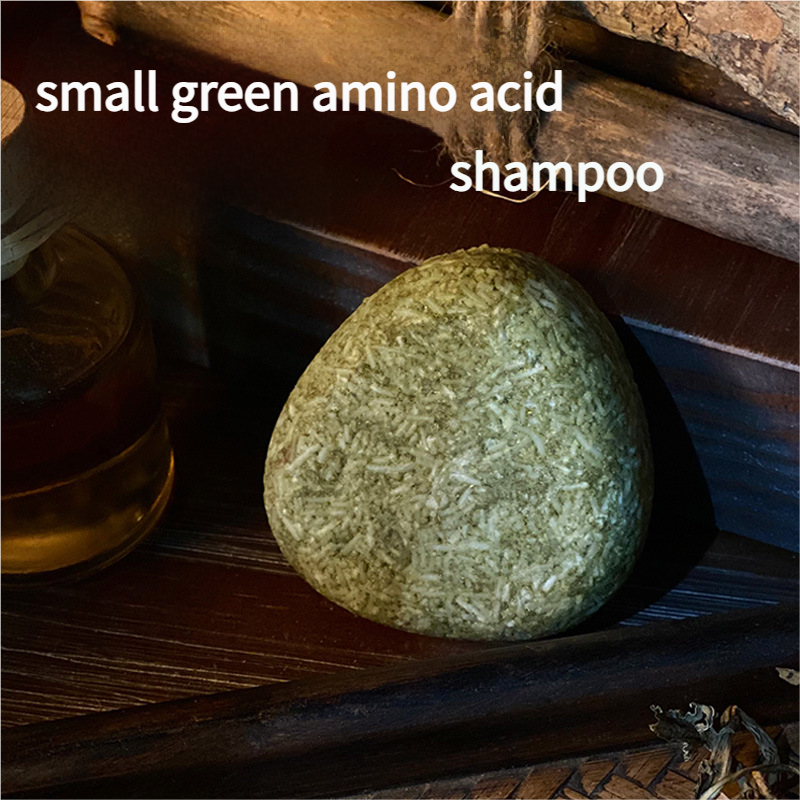
Why Choose Amino Acid Soap?
Before you start, here's a look at its benefits:
Gentle and Non-Irritating: Traditional soap is alkaline, but amino acid soap has a pH close to that of healthy skin (slightly acidic). This allows it to cleanse gently without damaging your skin's natural barrier.
Delicate, Creamy Lather: Amino acid soap produces a rich and fine lather that can penetrate pores to remove dirt without leaving a tight, dry feeling.
Suitable for Sensitive Skin: Due to its gentle ingredients, it's especially suitable for sensitive, dry, or inflamed skin.
The DIY Amino Acid Soap Making Principle
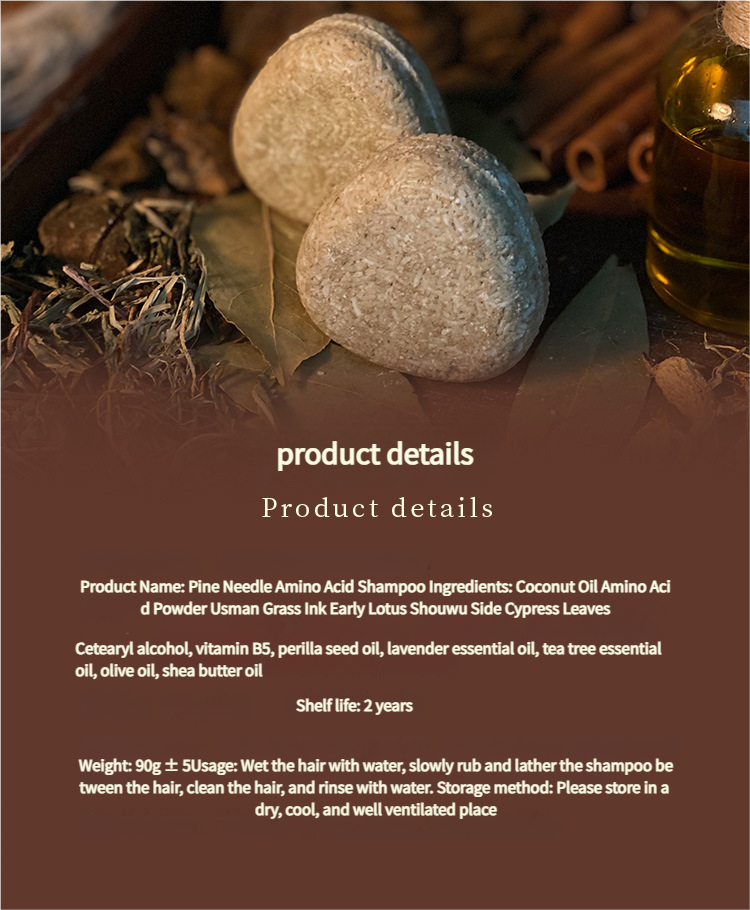
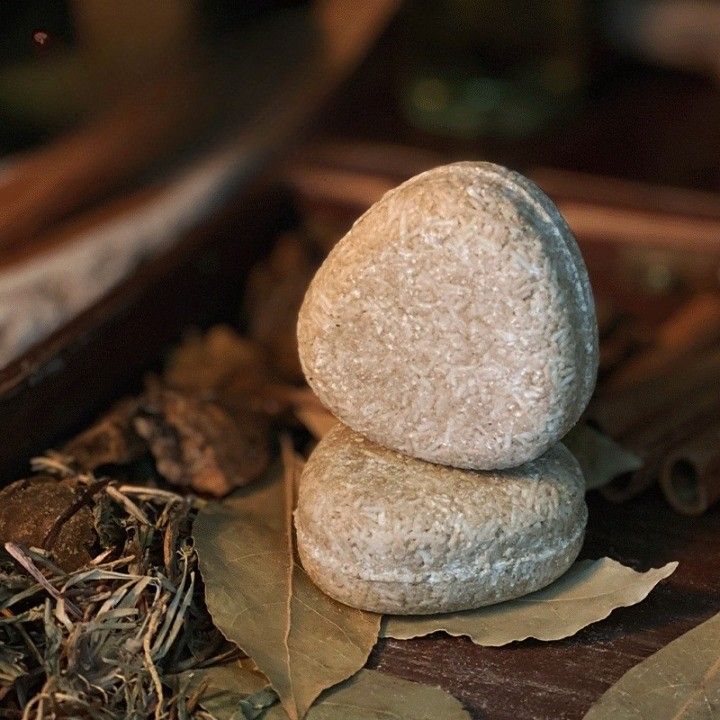
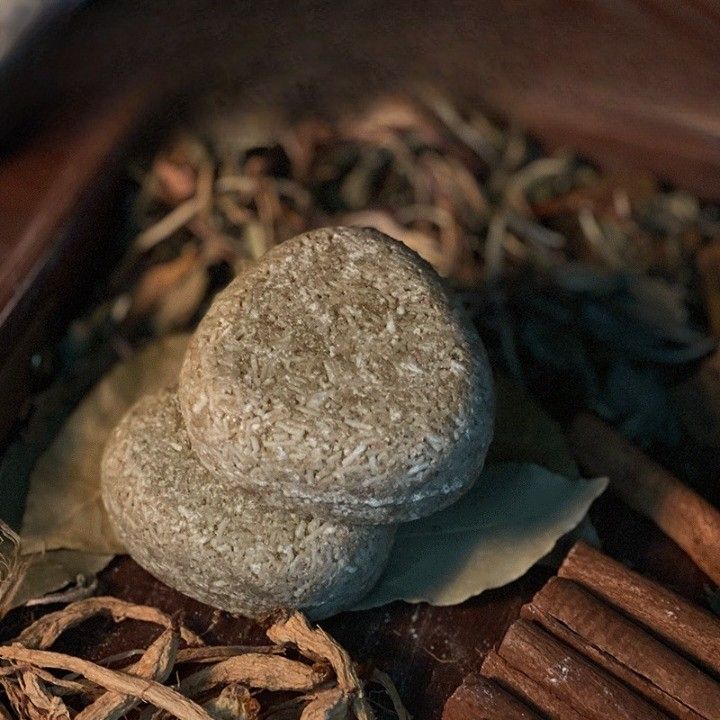
Unlike traditional cold process soap (which requires sodium hydroxide for saponification), the principle behind making DIY amino acid soap is very simple: you use a pre-made amino acid soap base (a raw ingredient that has already been saponified and can be melted directly), add your favorite ingredients, and pour it into a mold to set. This process is safe and non-corrosive, making it perfect for beginners.
Tutorial: 4 Simple Steps
Step One: Prepare Your Materials
Amino Acid Soap Base: This is the core ingredient. You can purchase it online or at handmade soap supply stores.
Purified or Distilled Water: Used to dilute the soap base. The usual ratio is 10 parts soap base to 1 part water.
Heat-Resistant Container: Such as a stainless steel bowl or glass jar.
Stirring Rod or Small Spoon: For mixing.
Silicone Molds: In any shape you like.
Optional Additives:
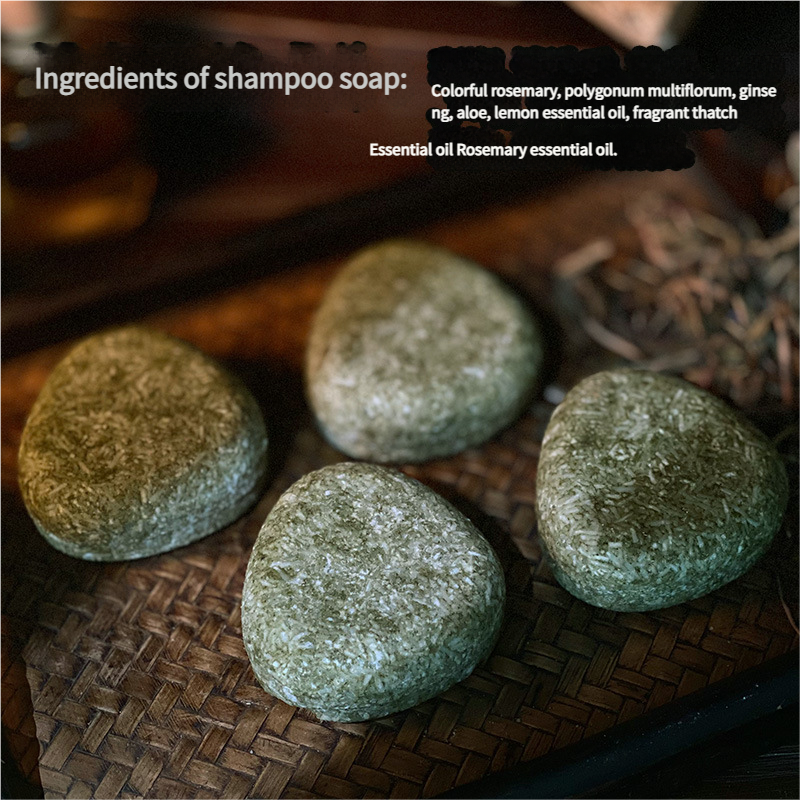
Essential Oils: Like lavender or tea tree oil, for fragrance and added benefits.
Plant Extracts: Such as licorice, calendula, or aloe vera extract, for skincare benefits.
Natural Pigments: Like mica powder, for coloring.
Dried Flowers: Like rose or calendula petals, for decoration.
Step Two: Melt the Soap Base Using a Double Boiler
Cut the amino acid soap base into small chunks and place them in your heat-resistant container. Place this container in a larger pot with hot water to melt the soap base slowly using a double boiler method. Be patient and don't let the temperature get too high.
Step Three: Add Extracts and Mix
Once the soap base has completely melted into a liquid, turn off the heat. Let it cool for a moment, then add the purified water and any optional additives you've prepared. Stir gently with your rod or spoon, moving slowly to avoid creating too many bubbles.
Step Four: Pour into Molds to Set
Quickly pour the liquid soap into your prepared molds. If bubbles form on the surface, you can gently spray them with alcohol to remove them. Place the molds in a cool, well-ventilated area and let them solidify completely, which usually takes a few hours. Once they are fully cool and firm, you can easily unmold them.
Frequently Asked Questions
Q: Does DIY amino acid soap need to be cured?
A: No. Since the soap base has already gone through the saponification process, the soap is ready to use once it's made. It doesn't need to sit for weeks like cold process soap.
Q: What essential oils can I add?
A: We recommend choosing gentle oils that suit your skin type, for example:
Lavender: Soothing and helps with sleep.
Tea Tree: Controls oil and is antibacterial.
Chamomile: Calming and anti-inflammatory.
Conclusion
Making DIY amino acid soap is a simple and fun process. It allows you to safely create a gentle, personalized skincare product that's perfect for you. We hope this tutorial helps you take the first step and enjoy the fun of making things yourself!