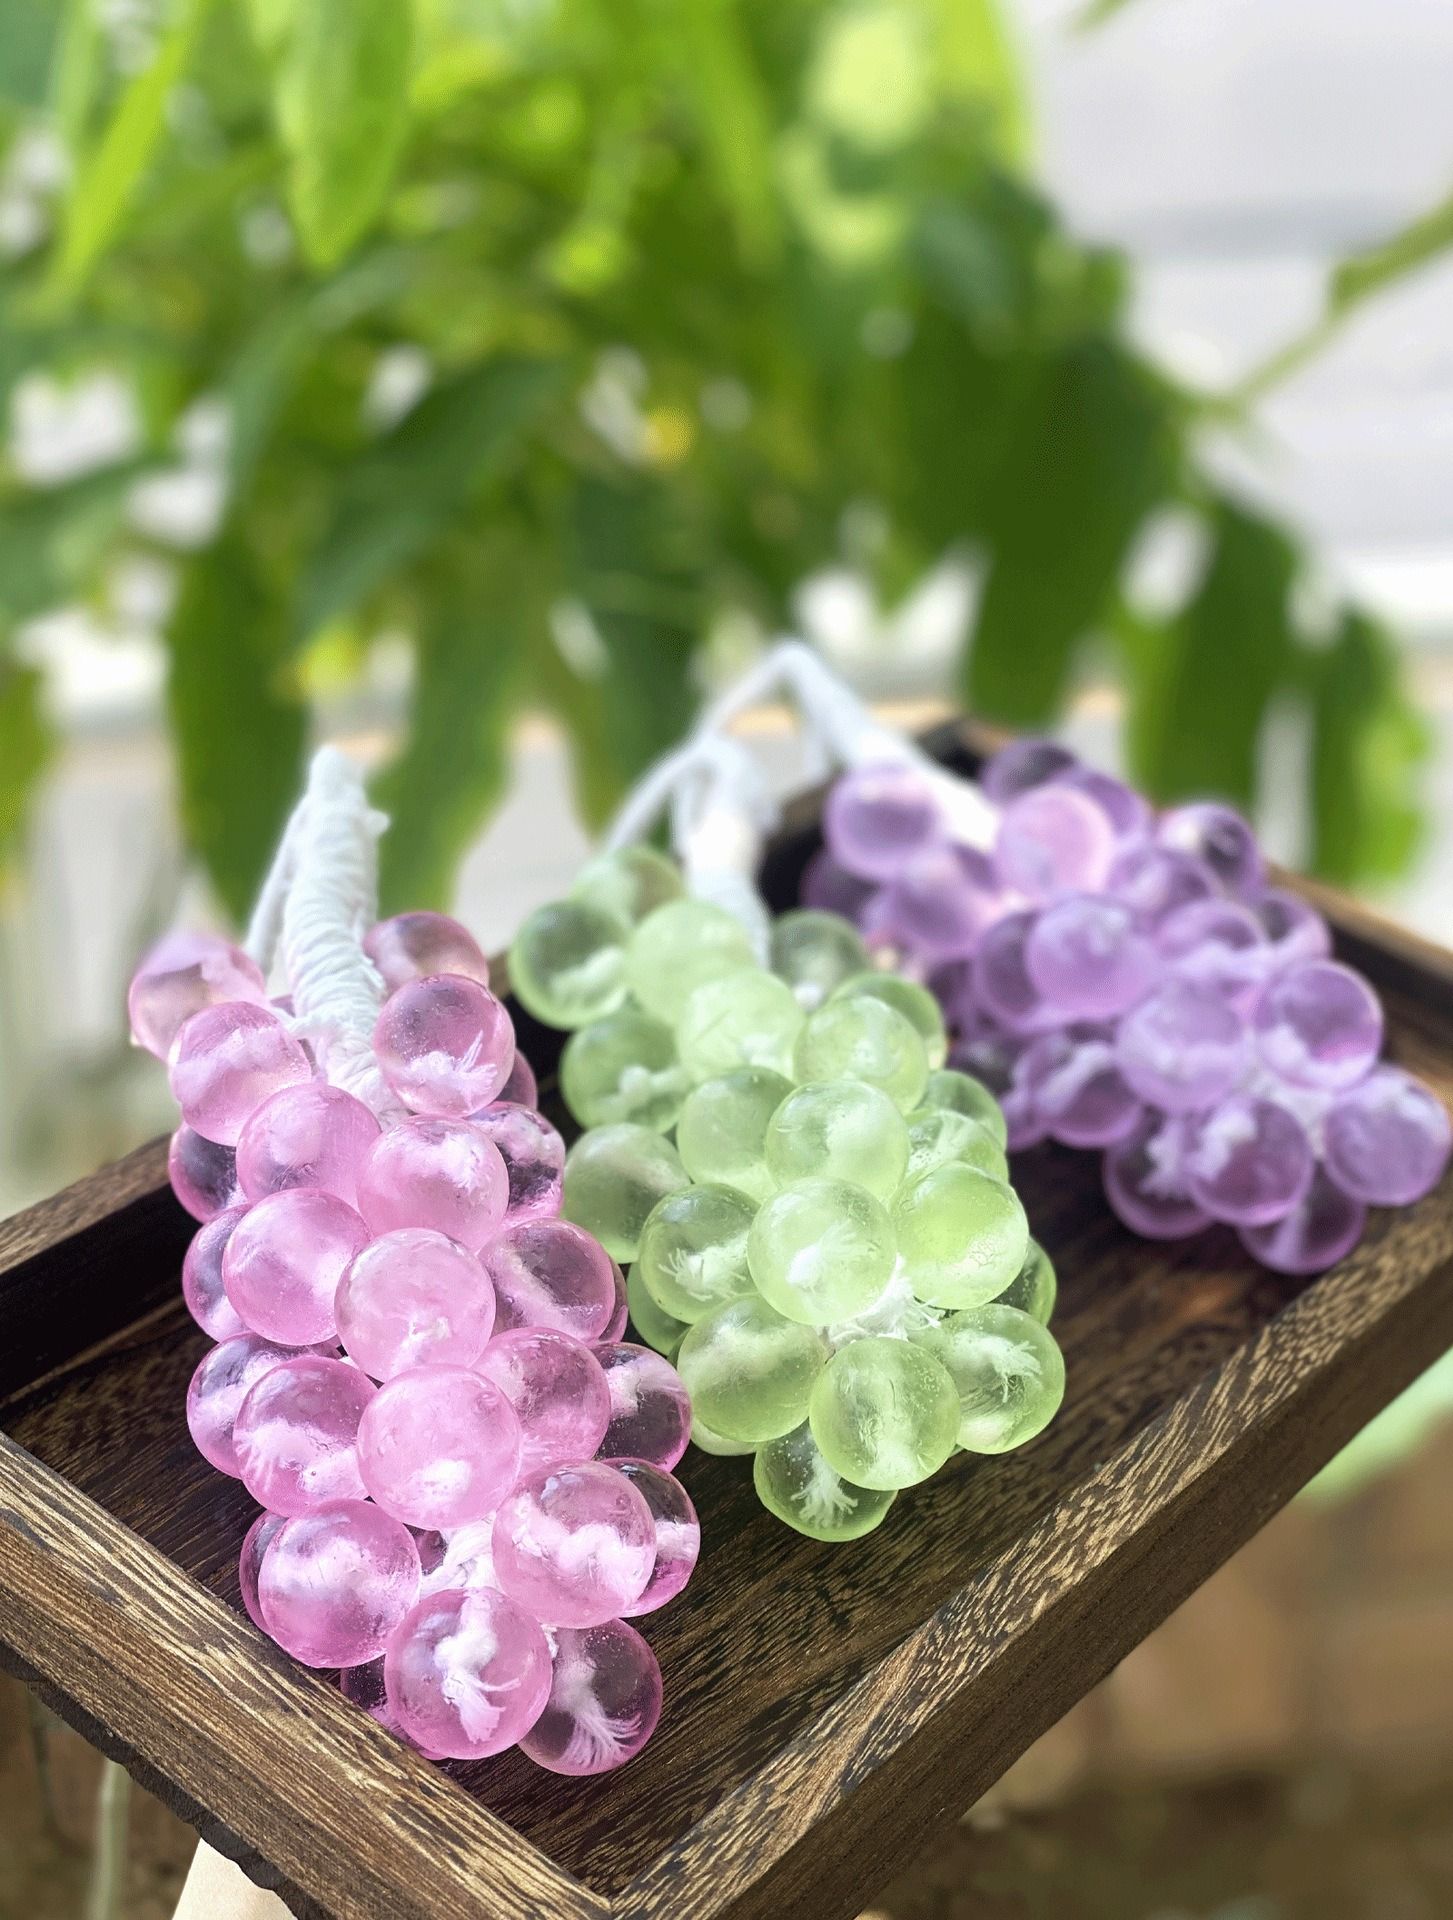
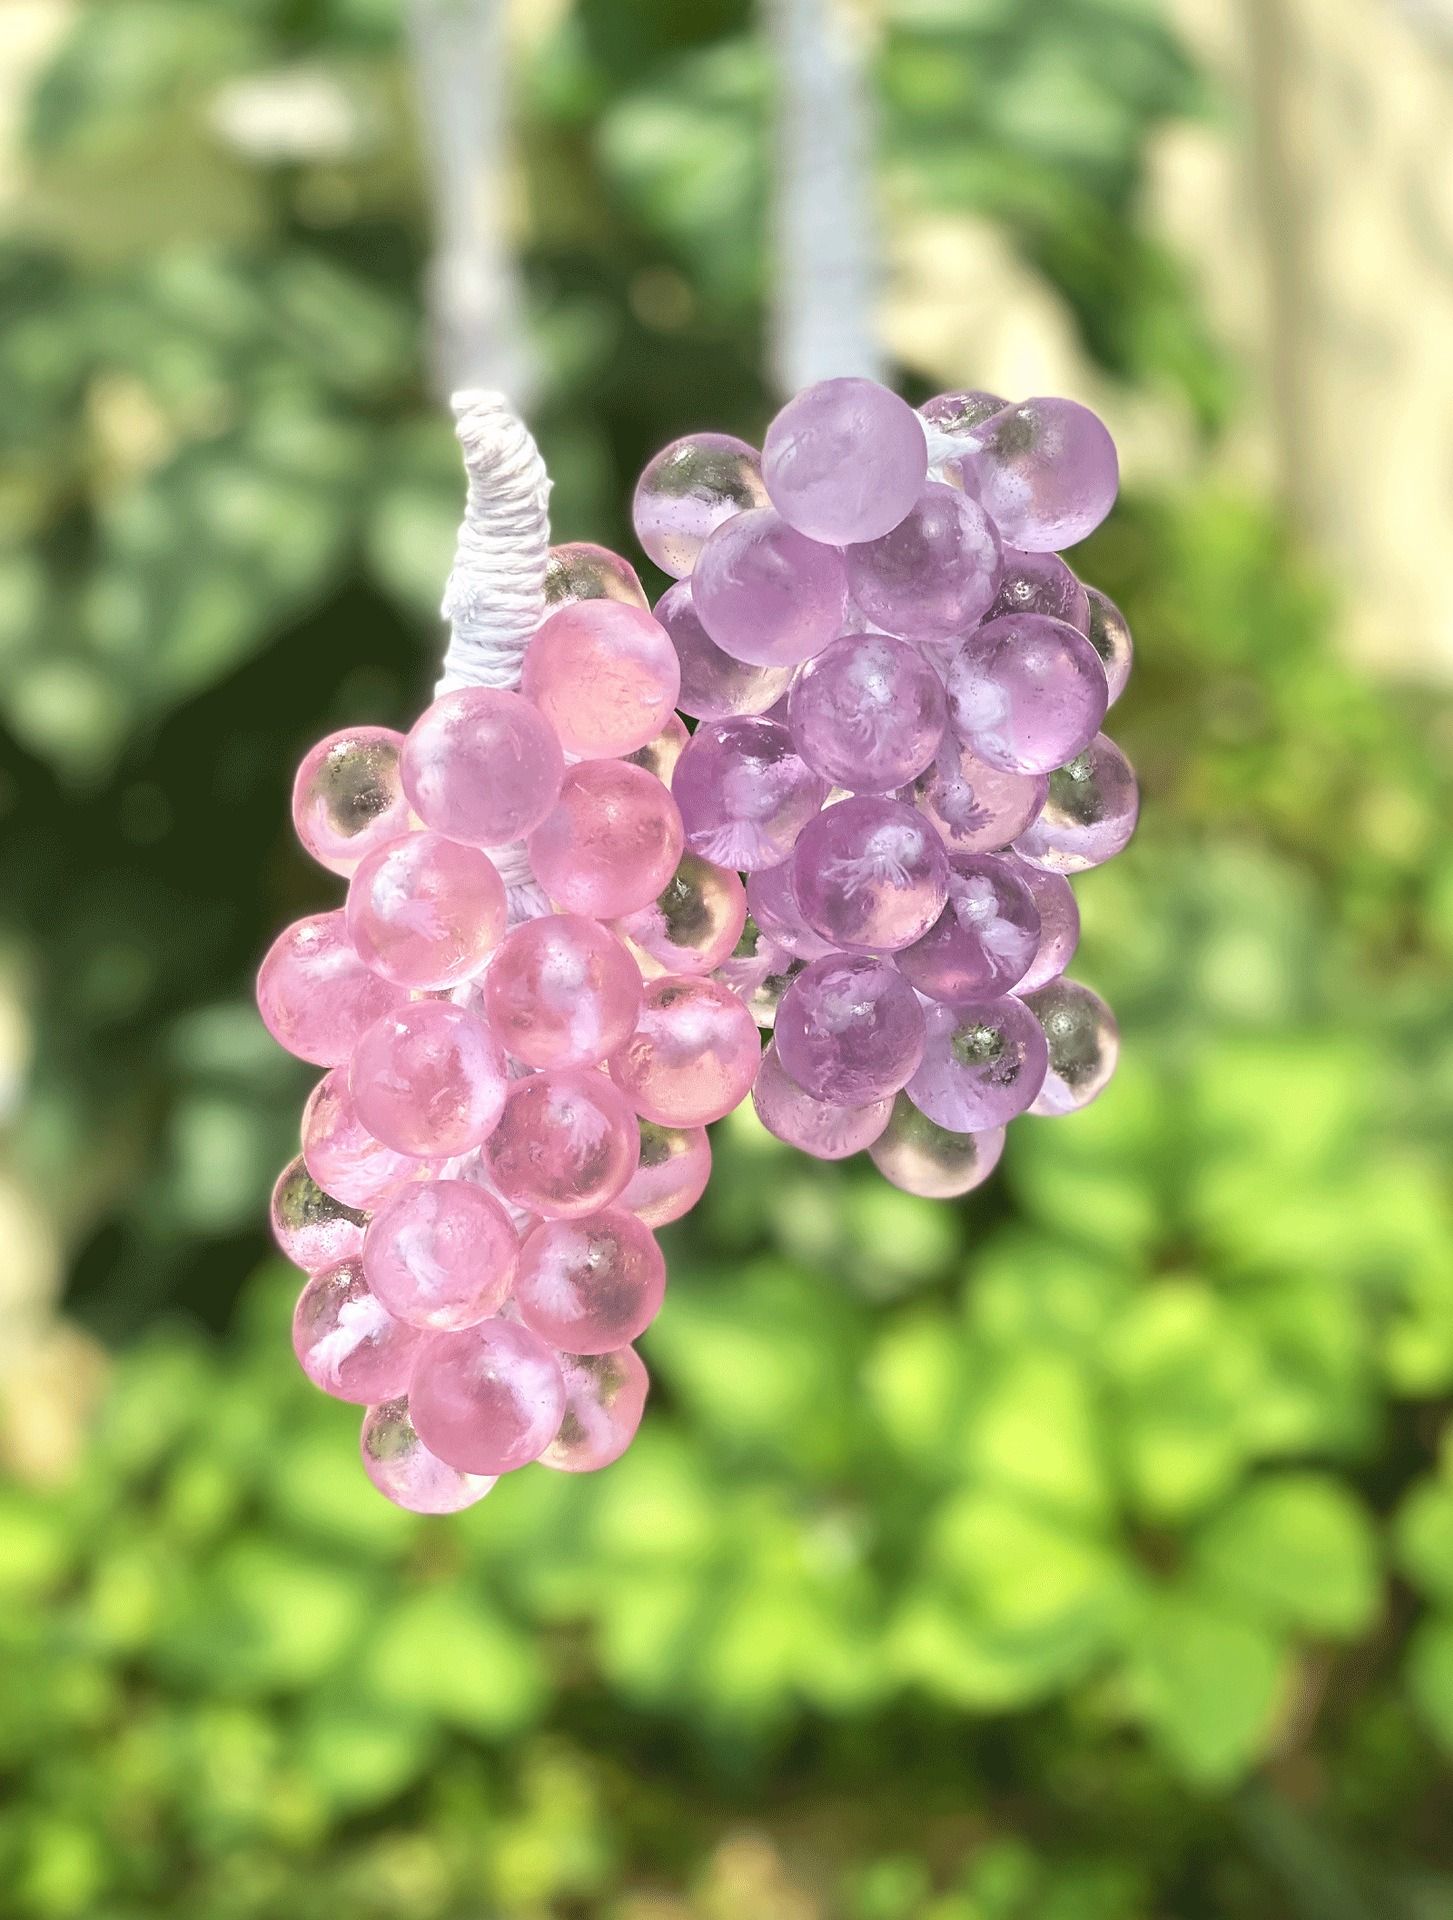
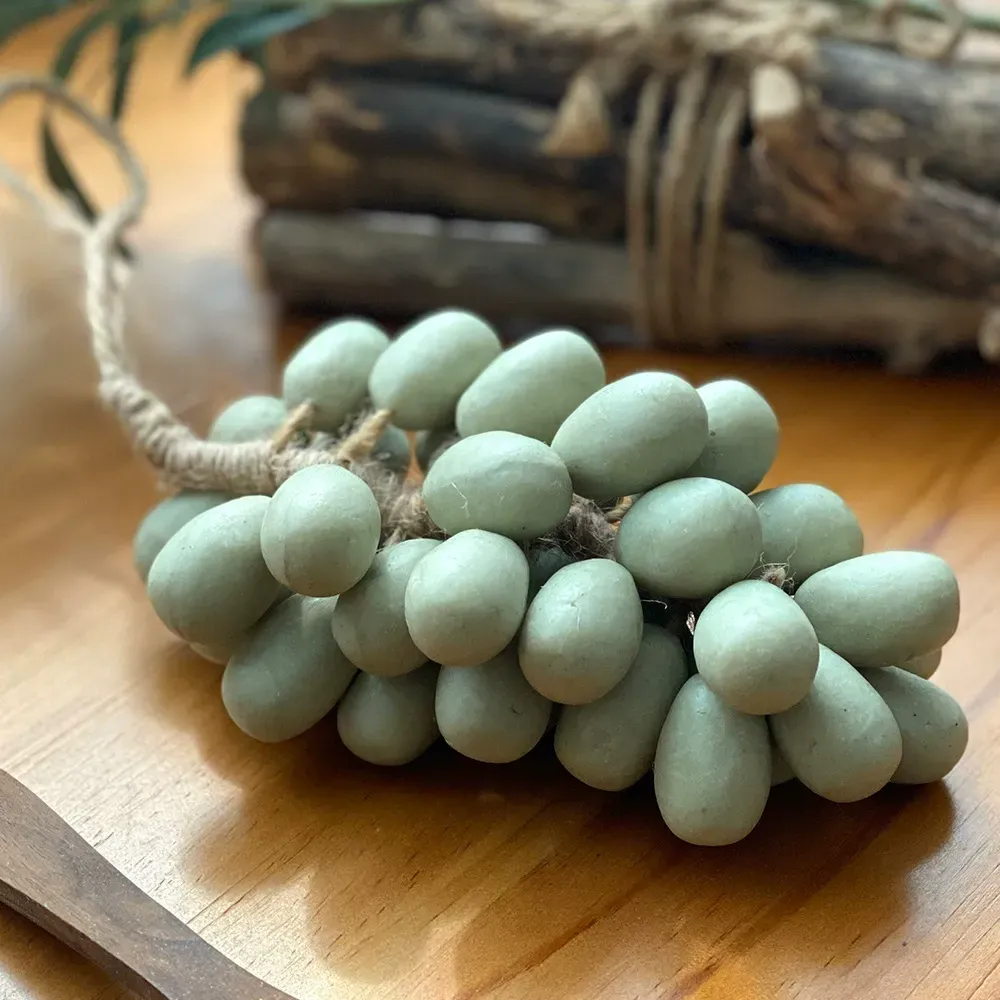
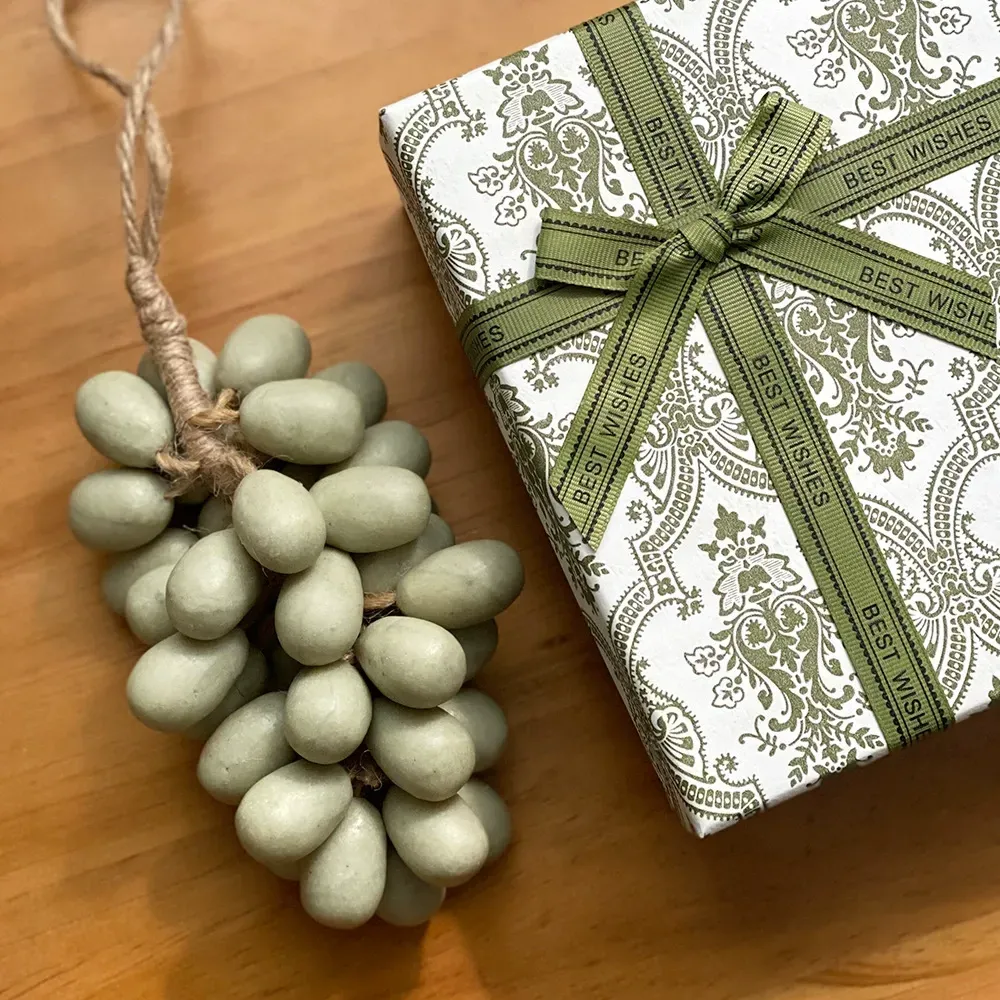
1. Introduction: Why Choose to Make Soap Yourself?
On supermarket shelves, shower gels and industrial soaps dominate. However, more and more people are returning to natural, pure skincare methods, and among them, the craft of Handmade Soap is becoming a popular trend.
Making soap yourself not only allows you to have complete control over every ingredient used, ensuring it is natural and harmless, but more importantly, it lets you retain the natural glycerin that is removed during industrial production. This results in an extremely moisturizing and gentle cleansing experience.
2. Fundamentals: Understanding the Two Main Soap Making Methods
Handmade soap making primarily involves a few methods:
🥇 Cold Process (CP): The Gold Standard of Handmade Soap
The Cold Process is the most common method for making high-quality handmade soap. It relies on a "saponification reaction" between oils and a strong alkali (typically Sodium Hydroxide / Lye) at low temperatures.
Pros: The nutritional benefits of the natural plant oils and the naturally produced glycerin are fully preserved. The finished product is highly moisturizing and is the preferred choice for many with sensitive skin.
Cons: Requires a long curing period of 4 to 8 weeks before the soap can be used.
♨️ Hot Process (HP) and Melt & Pour (MP)
Hot Process (HP): Similar to CP, but the mixture is heated after combining to speed up saponification. The finished soap can be used sooner, but the appearance is often less refined than CP soap.
Melt & Pour (MP): Involves buying pre-made, clear soap base (which has already saponified). You simply melt it, add colors and scents, and pour it into molds. This is the easiest and safest method for beginners, but you cannot fully control the base oil ingredients.
3. 【Cold Process Deep Dive】Making Your First Batch of Soap
If you seek ultimate quality and a therapeutic experience, Cold Process is the way to go. But remember: The process involves a strong alkali, so safety is paramount!
Step 1: Safety First—Preparation
Since you will be handling sodium hydroxide (lye), ensure you take the following precautions:
Personal Protection: Wear safety goggles, rubber gloves, and a mask. Wear long sleeves.
Ventilation: Work in a well-ventilated area or use an extractor fan.
Tools: You will need a precise digital scale, stainless steel or heat-resistant PP containers, a thermometer, and an immersion blender (stick blender).
Step 2: Preparing the Oils and Lye Solution
Weigh the Oils: Precisely weigh all the oils according to your recipe (e.g., olive oil, coconut oil, shea butter) and place them in the main container.
Making the Lye Solution (Crucial): Always slowly pour the lye (Sodium Hydroxide) into the water, never water into the lye! This prevents violent splashing. Stir until the lye granules are completely dissolved. This process releases significant heat, so proceed with caution.
Temperature Control: Allow both the oils and the lye solution to cool down. The ideal mixing temperature is usually between 40∘C and 50∘C (depending on the recipe). Ensure both temperatures are close to each other.
Step 3: Mixing and the “Trace” Stage
Mixing: Slowly and evenly pour the lye solution into the oils while starting to stir with the immersion blender (or spoon).
Trace: Continue blending (about 5-15 minutes with a stick blender). The mixture will gradually emulsify and thicken. When the mixture, drizzled onto the surface, leaves a noticeable mark (similar to making pudding or mayonnaise), you have reached the “Trace” stage, indicating that saponification has begun.
Step 4: Adding Natural Ingredients (Superfat, Essential Oils, Colorants)
At the Trace stage, you can add the final touches:
Superfat: Add extra nourishing oils (like jojoba oil, sweet almond oil) that won't saponify. These oils provide extra moisture and protection for the skin.
Essential Oils or Fragrance: Add your favorite natural essential oils (like lavender, tea tree) to give the soap a therapeutic scent.
Color: Use natural mineral powders (like mica powder) or botanical powders (like turmeric, spirulina) for coloring.
Step 5: Pouring into Molds and Insulating
Quickly pour the mixture into your prepared silicone or wooden molds.
Wrap the mold with a towel or blanket for insulation to allow the saponification reaction to continue (this is called the "gel phase"). Insulate for 18-24 hours.
Step 6: Unmolding, Cutting, and the Long "Curing" Period
Unmolding and Cutting: After 1-2 days, the soap will harden enough to be unmolded and cut into the desired shape with a soap cutter.
Curing: This is the most patient step. Place the cut soap bars in a dry, well-ventilated area to cure for 4-8 weeks. Curing allows excess water to evaporate and the soap's pH level to drop to a gentle range suitable for skin use.
4. The Unique Charm of Handmade Soap: Why It’s Better for Your Skin
Switching to handmade soap is an upgrade for your skin health:
Natural Glycerin Moisturizing Power: Every cleanse is a moisturizing treatment. It protects the skin's natural moisture barrier while washing away dirt.
Minimalist and Transparent Ingredients: Avoids common industrial soap additives like harsh hardeners, foaming agents (SLS/SLES), chemical preservatives, and artificial fragrances.
Targeted Care: You can customize the base oil recipe based on your skin type (dry, oily, sensitive) for personalized skincare.
5. Conclusion: Start Your Natural Skincare Journey
Handmade soap making is not just a craft; it is a therapeutic process full of ritual and a return to nature. From choosing the fragrant raw materials to patiently waiting for the soap to cure, every step is filled with care for oneself and the environment.
Now, it's time to pick up your scale and oils and start your own natural handmade soap making journey! Your skin will surely thank you for your effort.


