In our fast-paced modern lives, conversations with our children are often dominated by homework, electronics, and various chores. Is there a way for us and our kids to put down our phones, create something meaningful with our hands, and deepen our mutual understanding and bond?
The answer is—making handmade soap together!
Making soap isn't just a fun science experiment; it's a parent-child activity filled with patience, creativity, and warmth. It allows children to learn through practice and parents to observe through companionship. Ultimately, each unique bar of soap becomes a precious "bridge of communication" between you.
Step One: Becoming a 'Science Explorer'—Getting to Know the Ingredients
Before you start, get to know the "superpowers" of all your materials with your child.
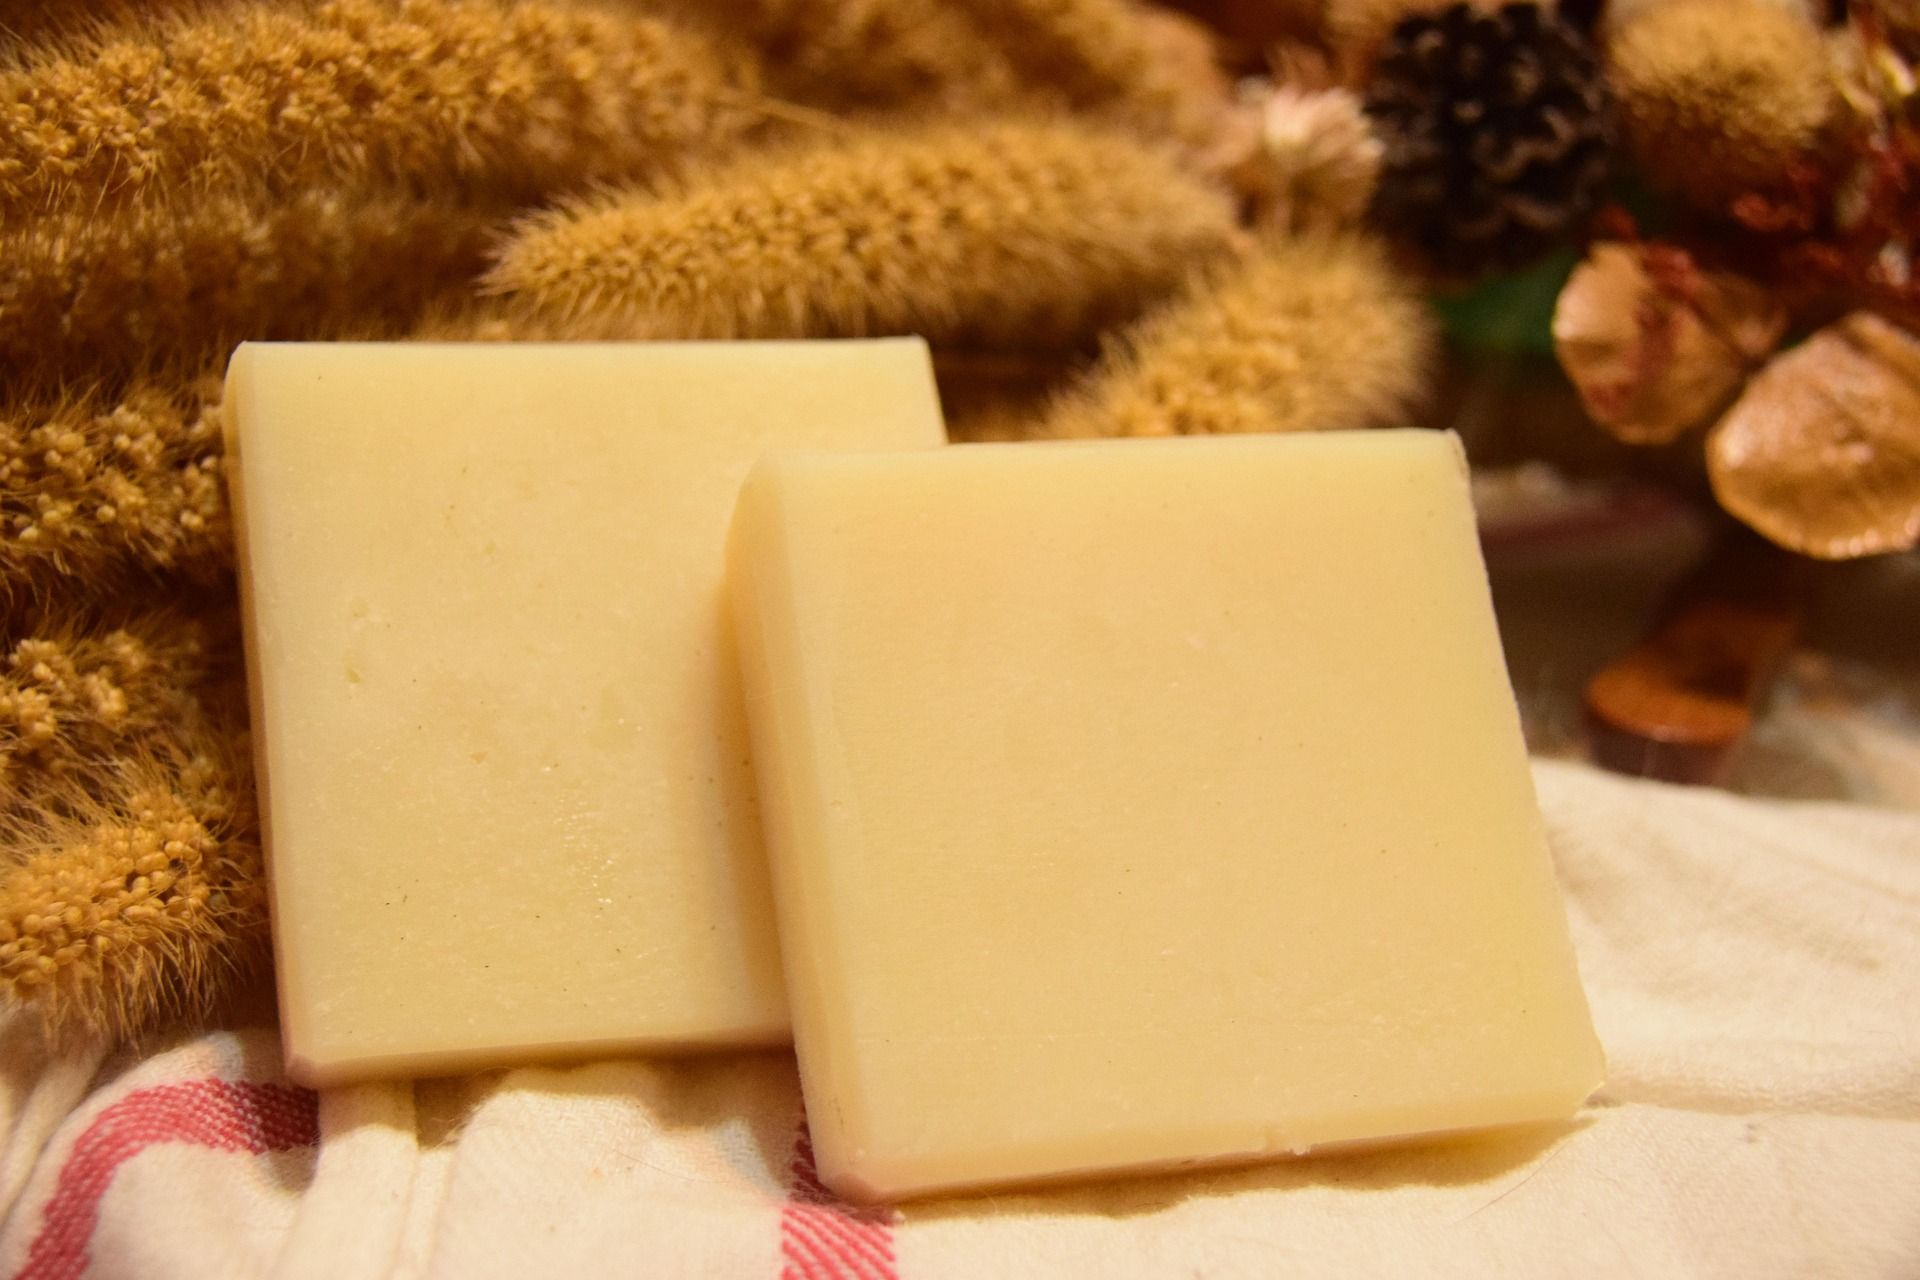
Soap Base: You can tell your child that the soap base is like the foundation of a building block set—the starting point for all handmade soap.
Natural Pigments/Dried Flowers: These are the "magic powders" that add color and life to the soap. You can ask your child, "What color do you want your soap to be? Do you want to put little flowers inside?" This sparks their imagination.
Essential Oils: Essential oils are the "soul" of the soap, bringing a charming scent. Prepare a few different kinds of oils (like lavender, tea tree, or sweet orange) and let your child smell them. Tell them what each scent represents, like how lavender helps you relax and sweet orange brings a good mood.
In this process, you're not just introducing materials; you're guiding your child to explore and experience the world with their own senses.
Step Two: Transforming into a 'Little Artist'—Hands-On Creation
Once you’re ready, you can officially begin the creative process.
Melting the Soap Base: Under your guidance, have your child cut the soap base into small pieces and place them in a container. Then, melt it using the double-boiler method. During this process, you can teach your child about safety and let them observe the magical transformation from solid to liquid.
Coloring and Scenting: This is the most creative part! Let your child add the pigments or essential oils and stir them in. You can encourage them to be bold and try mixing different colors to create a unique "rainbow soap."
Pouring and Decorating: Pour the liquid soap into the mold. Before it hardens, you can let your child gently add dried flowers or small toys to create their own "secret garden." This process requires patience and care, which helps train their fine motor skills.
In this stage, your guidance and presence are essential. You don't need to do everything for them; instead, let them be the star and offer help and encouragement from the side.
Step Three: Enjoying the 'Harvest Moment'—Patience and Sharing
Handmade soap needs time to set and harden, and this waiting period is also an important lesson.
Learning to Wait: Tell your child that good things take time. During this period, you can talk about the process you just went through and share your feelings and experiences.
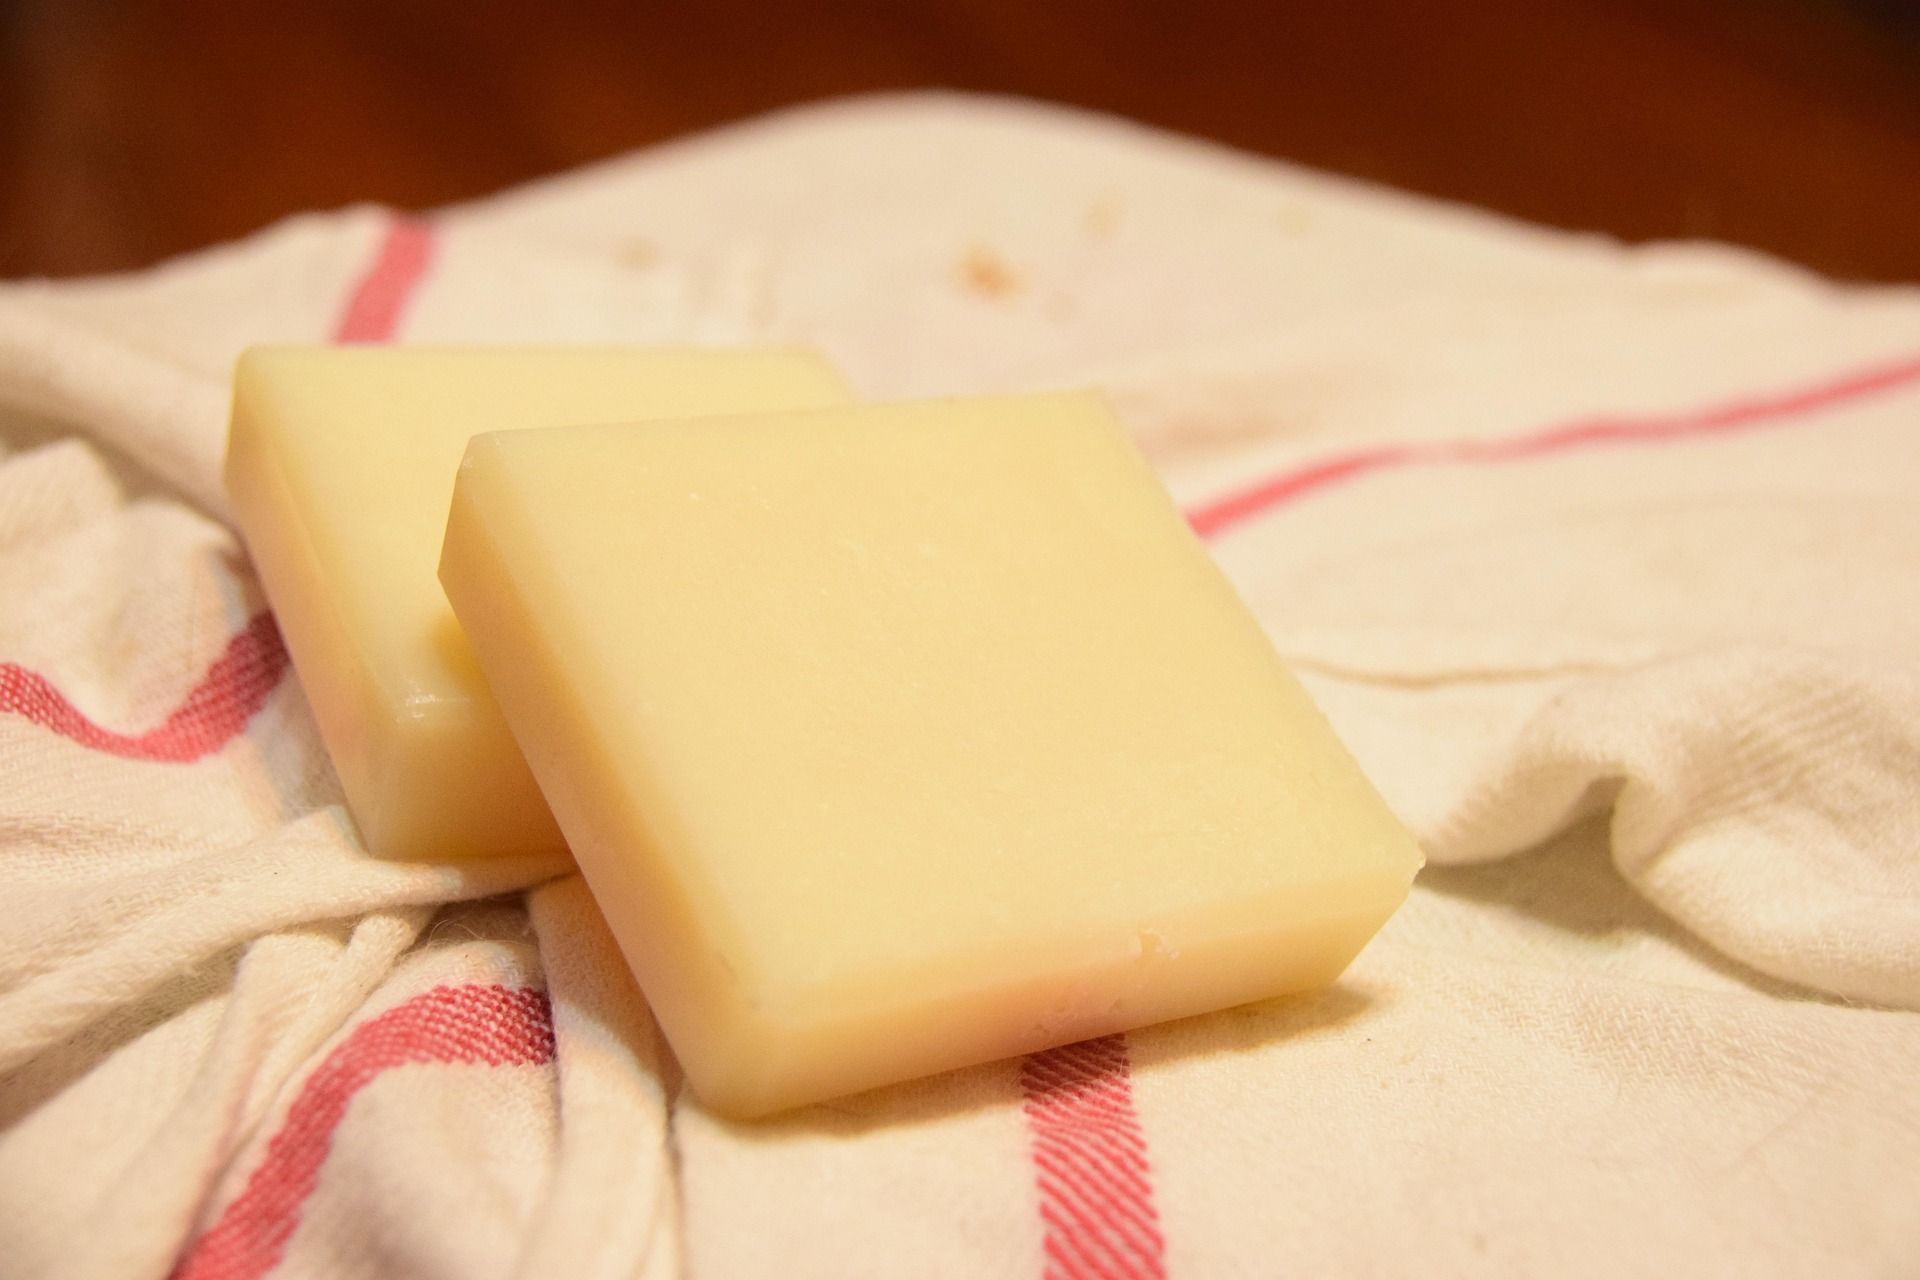
Sharing Happiness: When the soap is completely hardened and removed from the mold, unique bars of soap are born! You can work together to label the soaps and write down names. Then, encourage your child to give these handmade gifts to grandparents, teachers, or friends to share their hard-earned happiness.
In Conclusion
Making handmade soap is more than just getting a bar of soap. It's a memorable parent-child experience, a lively lesson in science, art, and life. Through this process, children learn to explore, create, and share, while parents gain a deeper understanding of their child’s inner world.
Now, why not find a sunny afternoon and start this fragrant and heartwarming journey with your child?