As more people turn to natural skincare, handmade soaps are becoming a favorite choice among beauty enthusiasts. Among many recipes, goat milk soap stands out for its rich nutrients and gentle properties. In this article, we’ll explore the benefits of goat milk soap, share a simple DIY recipe, and show you how to make your own nourishing soap at home.
🌿 Why Choose Goat Milk Soap?
Goat milk soap is more than just a cleansing bar — it’s a natural gift to your skin. Here are its main benefits:
-
Gentle Cleansing: The lactose and proteins in goat milk remove dirt without stripping natural oils, making it suitable for sensitive skin.
-
Deep Moisturization: Packed with vitamins A, D, and lactic acid, it softens rough skin and locks in moisture.
-
Soothing & Repairing: Natural fats in goat milk help restore the skin barrier and relieve dryness.
-
Anti-Aging Properties: Rich in antioxidants that combat free radicals and reduce signs of aging.
🧾 Basic Ingredients for Handmade Goat Milk Soap
To make goat milk soap, you’ll need:
-
Fresh goat milk or powdered goat milk – the main nourishing base.
-
Olive oil – moisturizing and rich in vitamin E.
-
Coconut oil – creates a nice lather and adds cleansing power.
-
Palm oil (optional) – for a harder, longer-lasting bar.
-
Lye (sodium hydroxide, NaOH) – necessary for saponification.
-
Essential oils (lavender, tea tree, rose, etc.) – for fragrance and added skin benefits.
🛠 Step-by-Step Guide to Making Goat Milk Soap
Step 1: Prepare the Goat Milk
-
Freeze goat milk into ice cubes. This prevents overheating and preserves nutrients when adding lye.
Step 2: Mix the Lye Solution
-
Slowly add sodium hydroxide to the frozen goat milk (never the other way around). Stir gently until fully dissolved. Always wear gloves and goggles for safety.
Step 3: Prepare the Oils
-
Melt olive oil, coconut oil, and other oils in a heat-safe container. Allow them to cool to around 40–45°C (104–113°F).
Step 4: Combine Lye & Oils
-
Slowly pour the lye solution into the oils. Use a stick blender until the mixture thickens to “trace” (like pudding).
Step 5: Add Essential Oils
-
Once trace is reached, add essential oils of your choice and stir gently.
Step 6: Pour Into Molds
-
Pour the soap mixture into molds, cover, and let it set for 24 hours. Once hardened, remove from molds.
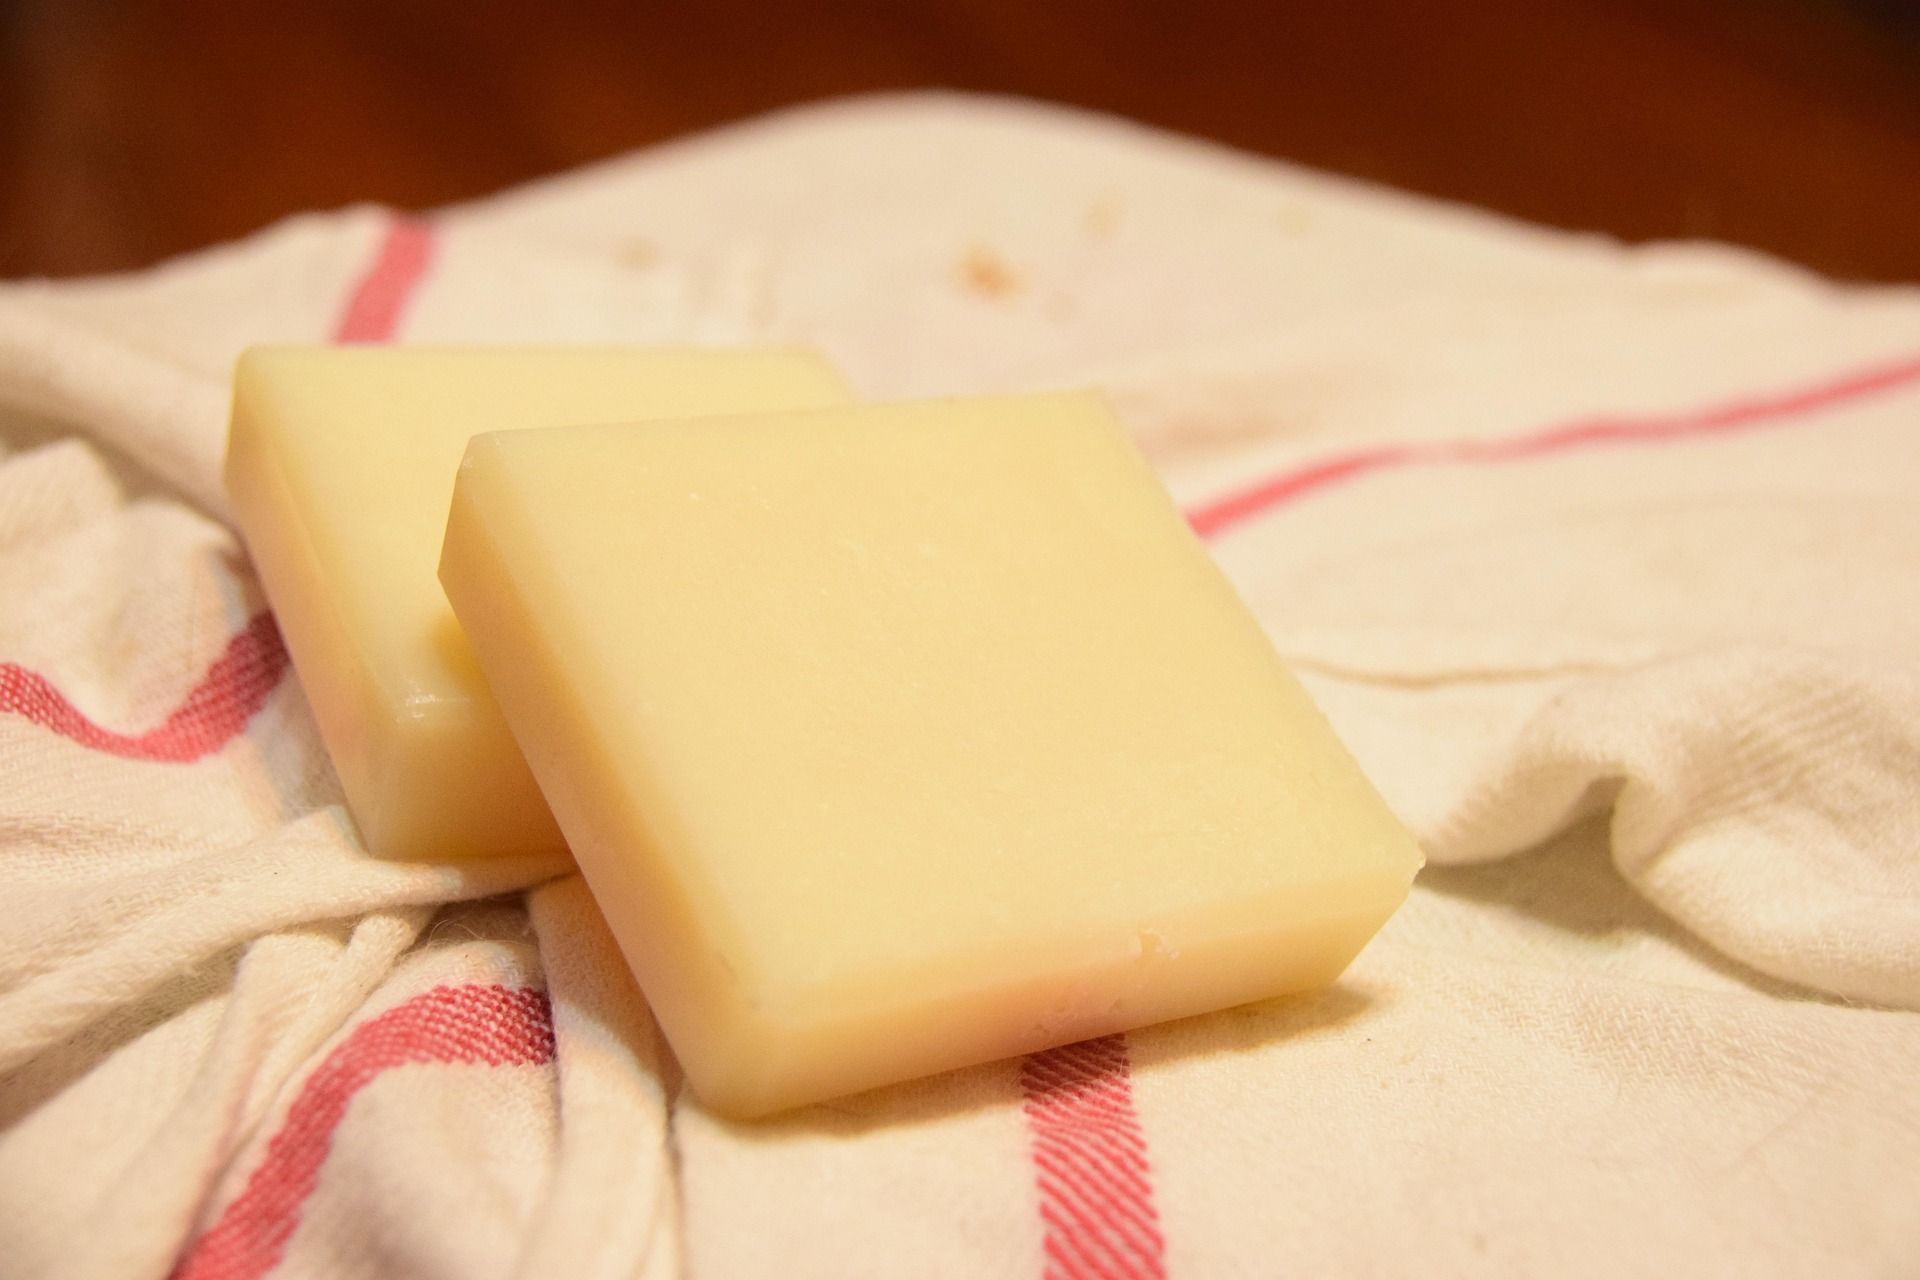
Step 7: Cure the Soap
-
Place the soap bars in a ventilated area and cure for 4–6 weeks. This ensures full saponification and a gentler soap.
💡 Tips for Success
-
Always handle lye with care and use protective gear.
-
Experiment with different essential oils to customize your soap’s fragrance and benefits.
-
The longer the curing time, the milder and creamier the soap becomes.
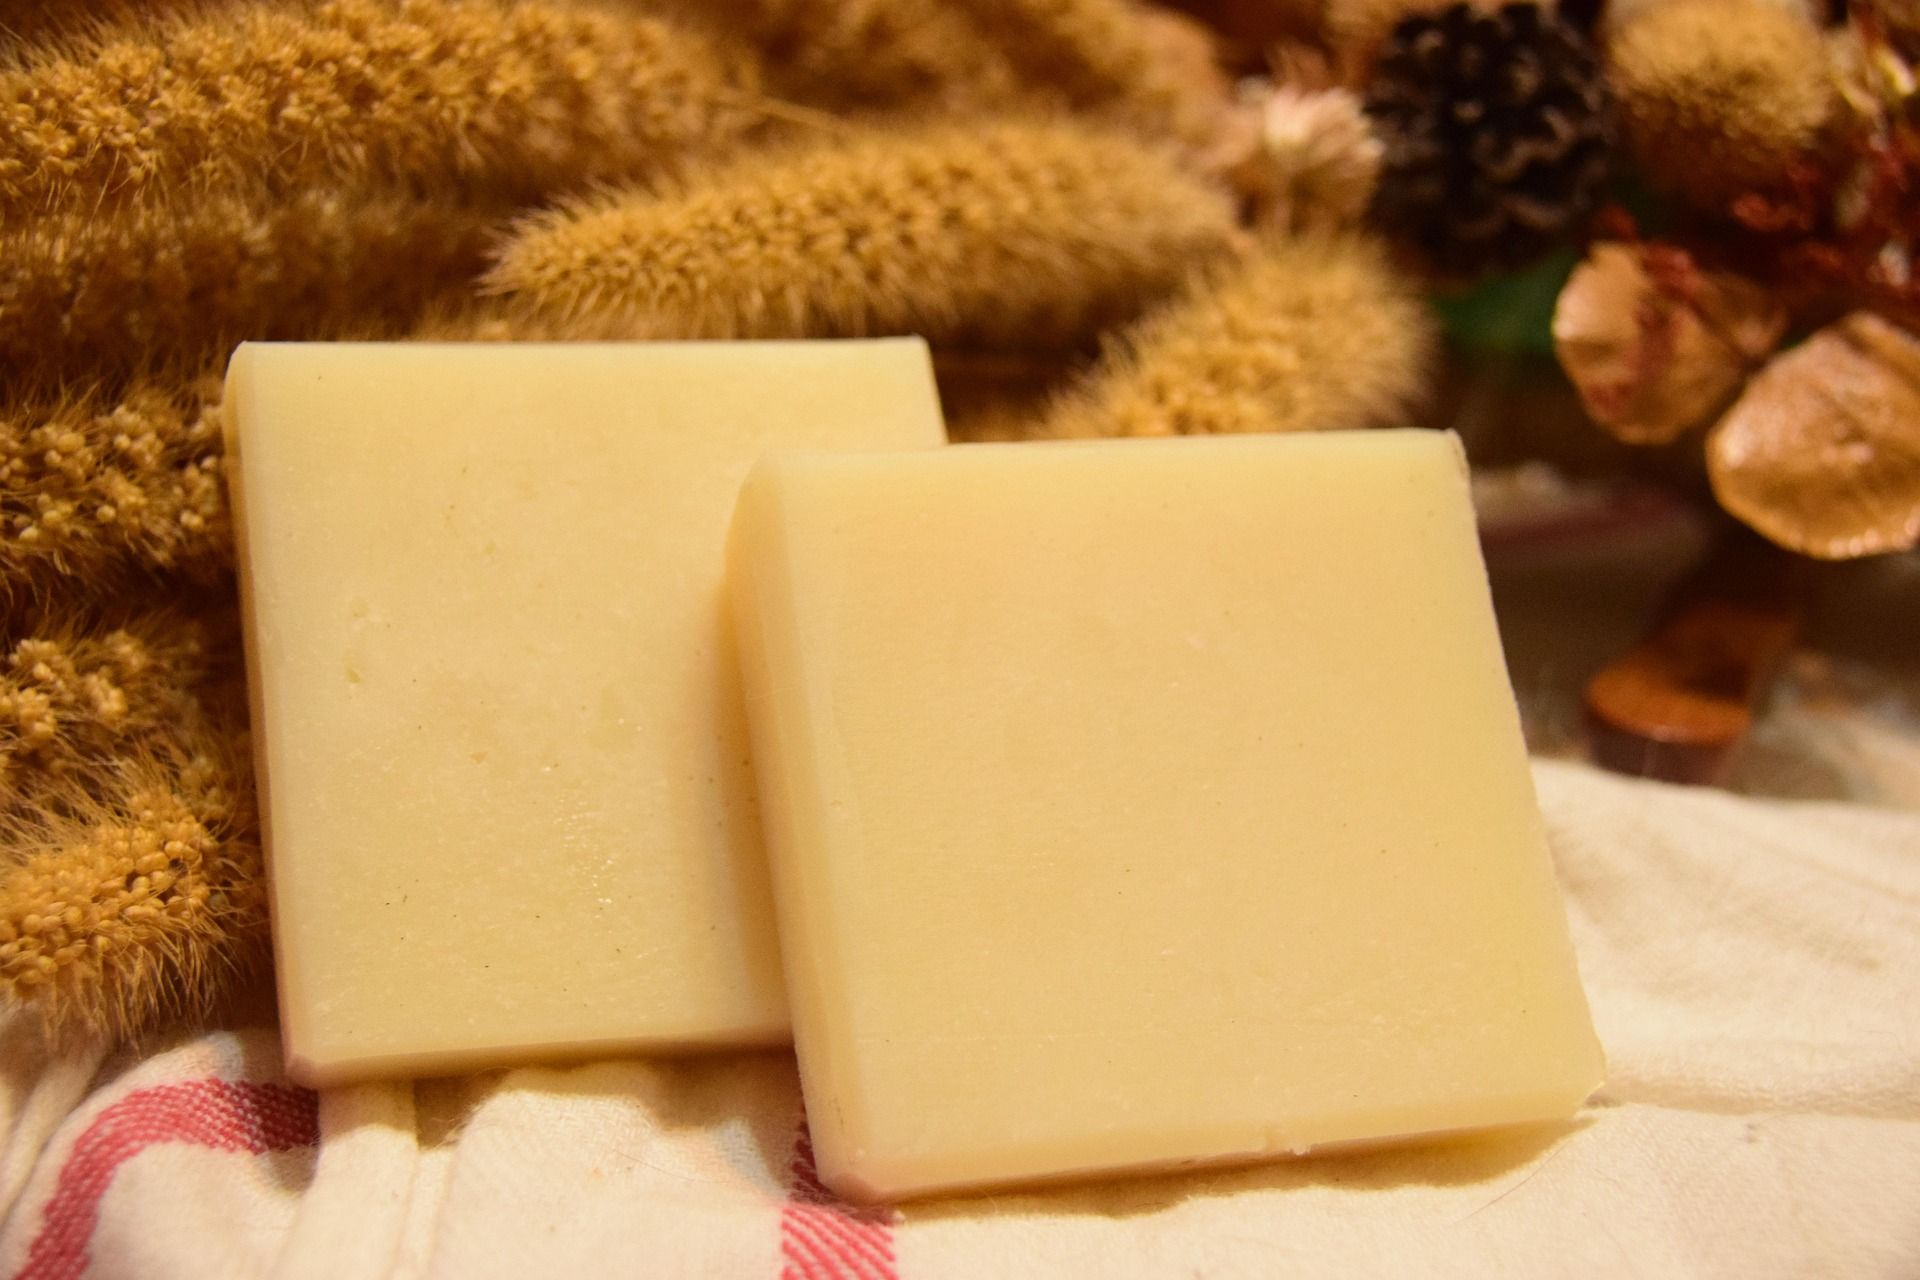
🌸 Final Thoughts
Handmade goat milk soap not only gently cleanses but also deeply nourishes your skin. Making it yourself allows you to choose natural ingredients, create unique scents, and enjoy a healthier skincare routine. Whether you’re a skincare beginner or a soap-making enthusiast, goat milk soap is a natural choice worth trying.
👉 要不要我也帮你写一份 SEO标题 + Keywords + Meta Description 的英文版本,这样你可以直接放到