Making your own soap at home has become a popular trend for those who want natural, skin-friendly, and sustainable skincare products. Among many options, amino acid soap stands out for its gentle cleansing power and ability to maintain the skin’s natural moisture. In this guide, we’ll explore what amino acid soap is, why it’s great for sensitive skin, and how you can create your very own DIY amino acid soap recipe at home.
What is Amino Acid Soap?
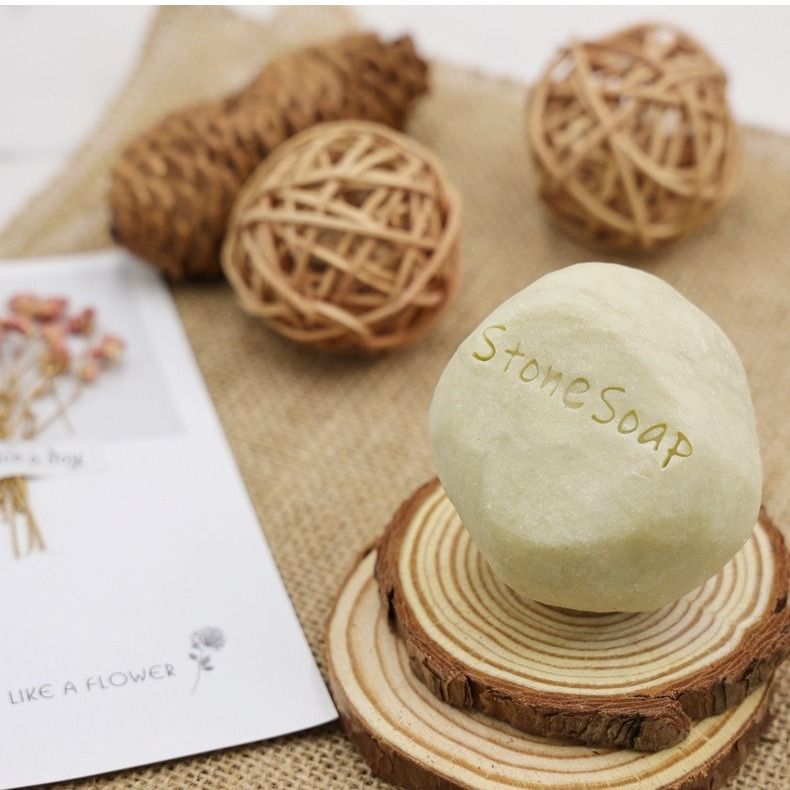
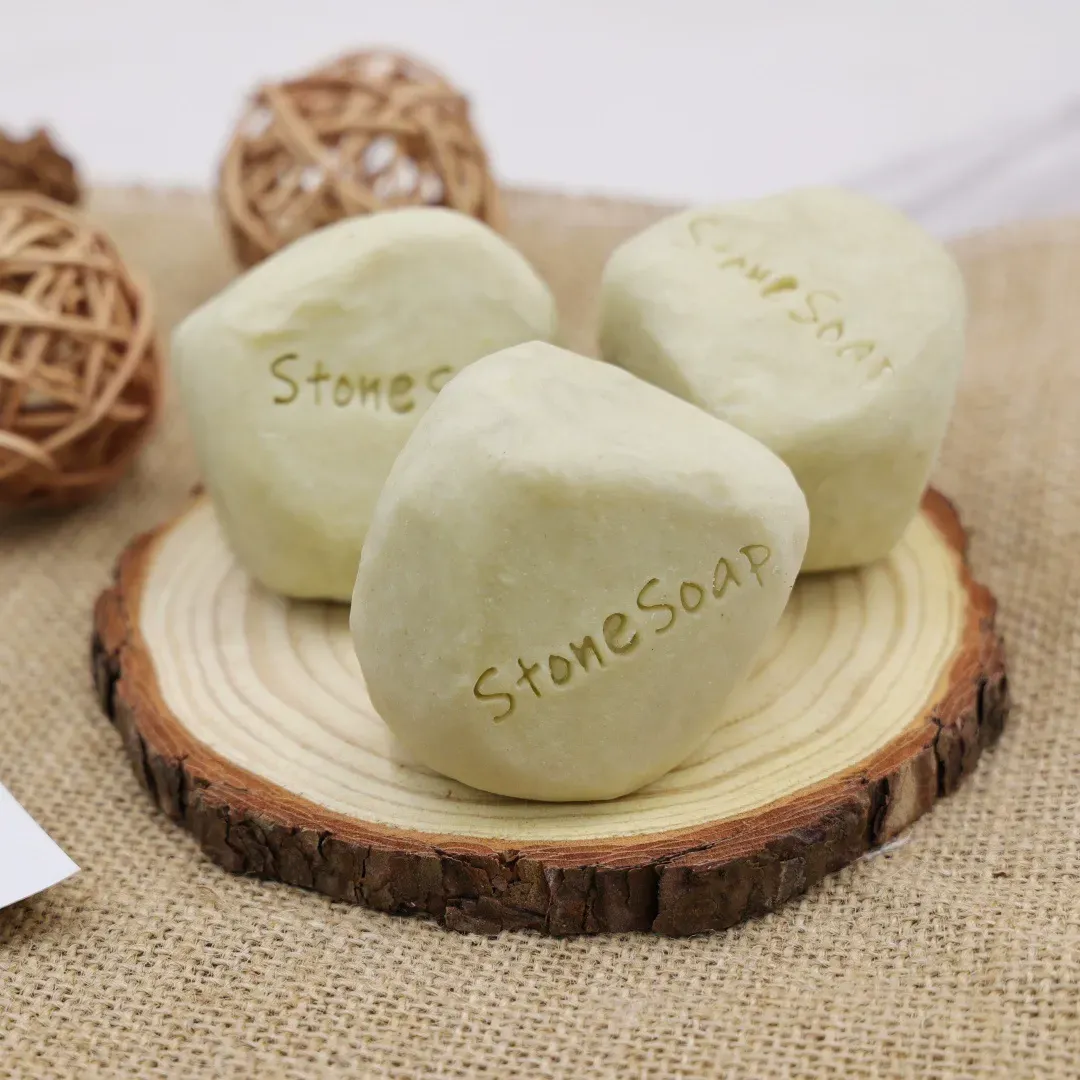
Amino acid soap is a type of facial and body cleansing bar that uses amino acid–based surfactants instead of harsh chemicals like SLS. Unlike traditional soaps, it’s:
-
Mild & pH-balanced – Close to the skin’s natural acidity (around pH 5.5).
-
Moisturizing – Helps prevent dryness and supports the skin barrier.
-
Safe for Sensitive Skin – Suitable for people with acne-prone, dry, or easily irritated skin.
This makes amino acid soap a top choice in modern skincare, especially in the U.S. where more consumers are choosing clean beauty and gentle formulas.
Key Ingredients for DIY Amino Acid Soap
Here’s a simple amino acid soap recipe that you can try at home.
Ingredients:
-
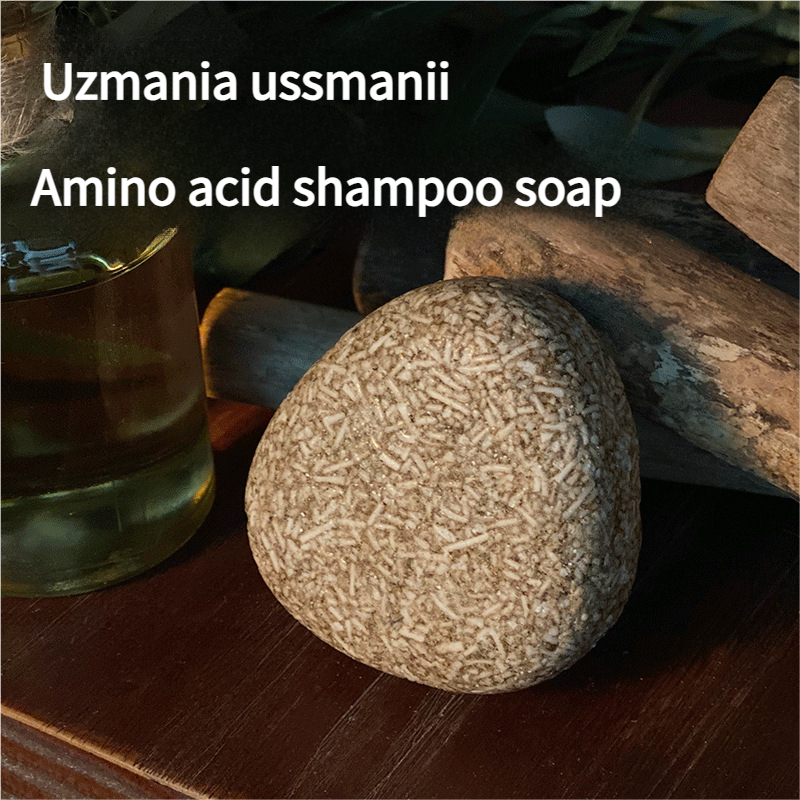
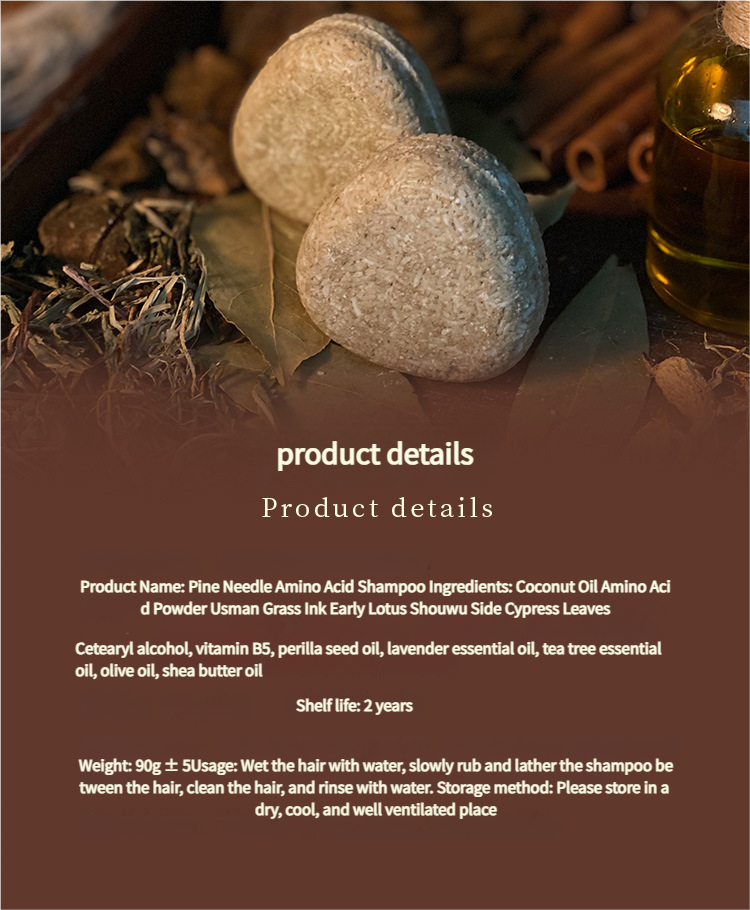
Amino acid surfactant powder (such as Sodium Cocoyl Isethionate, SCI) – 30g
-
Coconut oil – 50g
-
Olive oil (extra virgin preferred) – 80g
-
Shea butter – 30g
-
Distilled water – 100ml
-
Glycerin – 10g (optional, for extra hydration)
-
Essential oils (lavender, tea tree, or chamomile) – 5–10 drops
DIY Recipe: Step-by-Step
-
Prepare Your Workspace
Wear gloves and goggles for safety. Make sure your workspace is well-ventilated. -
Melt the Oils & Butter
Gently heat coconut oil, olive oil, and shea butter in a double boiler until fully melted. -
Mix Amino Acid Surfactant
Slowly add the amino acid surfactant (SCI powder) into the melted oils, stirring continuously until the mixture becomes smooth. -
Add Water & Glycerin
Slowly incorporate distilled water and glycerin into the mixture. Stir well to create a creamy base. -
Add Essential Oils
Once the mixture has cooled slightly, add your favorite essential oils for fragrance and extra skin benefits. -
Pour & Set
Pour the mixture into silicone soap molds. Let it cool at room temperature for at least 24 hours. -
Curing Time
Although amino acid soaps don’t need a long curing process like cold-process soap, allowing the bars to sit for a few days improves texture and hardness.
Benefits of Homemade Amino Acid Soap
-
Gentle Cleansing: Removes dirt and oil without stripping the skin.
-
Hydrating: Keeps skin soft and smooth with natural oils.
-
Customizable: Add essential oils like lavender for relaxation or tea tree for acne-prone skin.
-
Eco-Friendly: Reduce packaging waste by making your own bars at home.
Where to Buy Ready-Made Amino Acid Soap
If you’re not ready to make your own soap, you can still enjoy the benefits of amino acid formulas. Many U.S. consumers prefer to buy handmade soaps online from trusted skincare shops.
👉 Explore high-quality amino acid soaps at AmiSoap, where every bar is crafted with natural ingredients and gentle formulations perfect for sensitive skin.
Conclusion
DIY amino acid soap is a fun and rewarding project that combines the art of soap-making with the science of skincare. Whether you’re crafting your own at home or purchasing ready-made bars, amino acid soap is one of the best choices for anyone looking for a gentle, moisturizing, and skin-friendly cleanser in 2025.
Start your journey today—your skin will thank you! 🌿