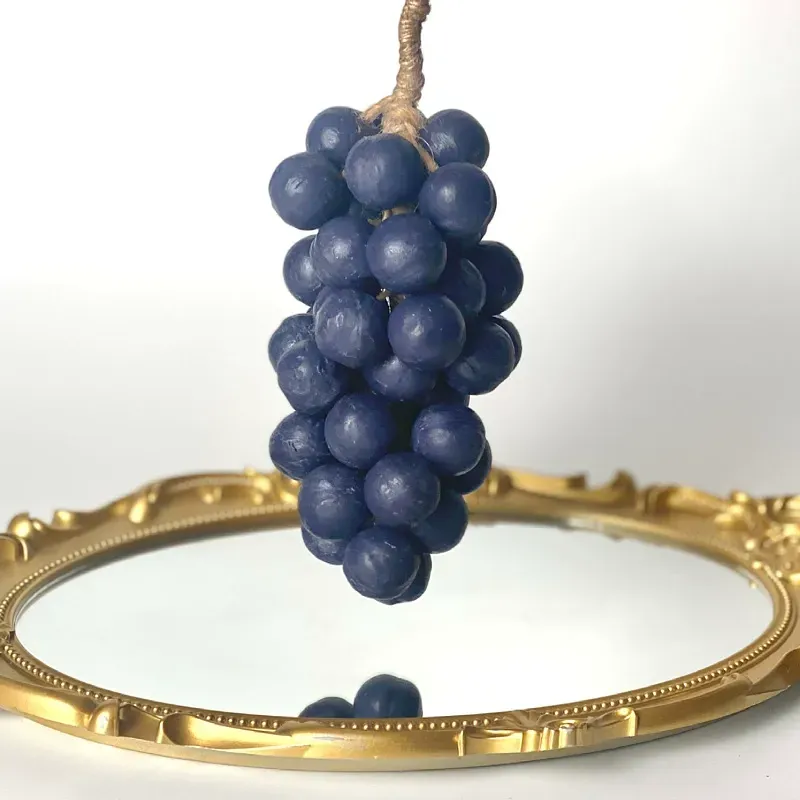
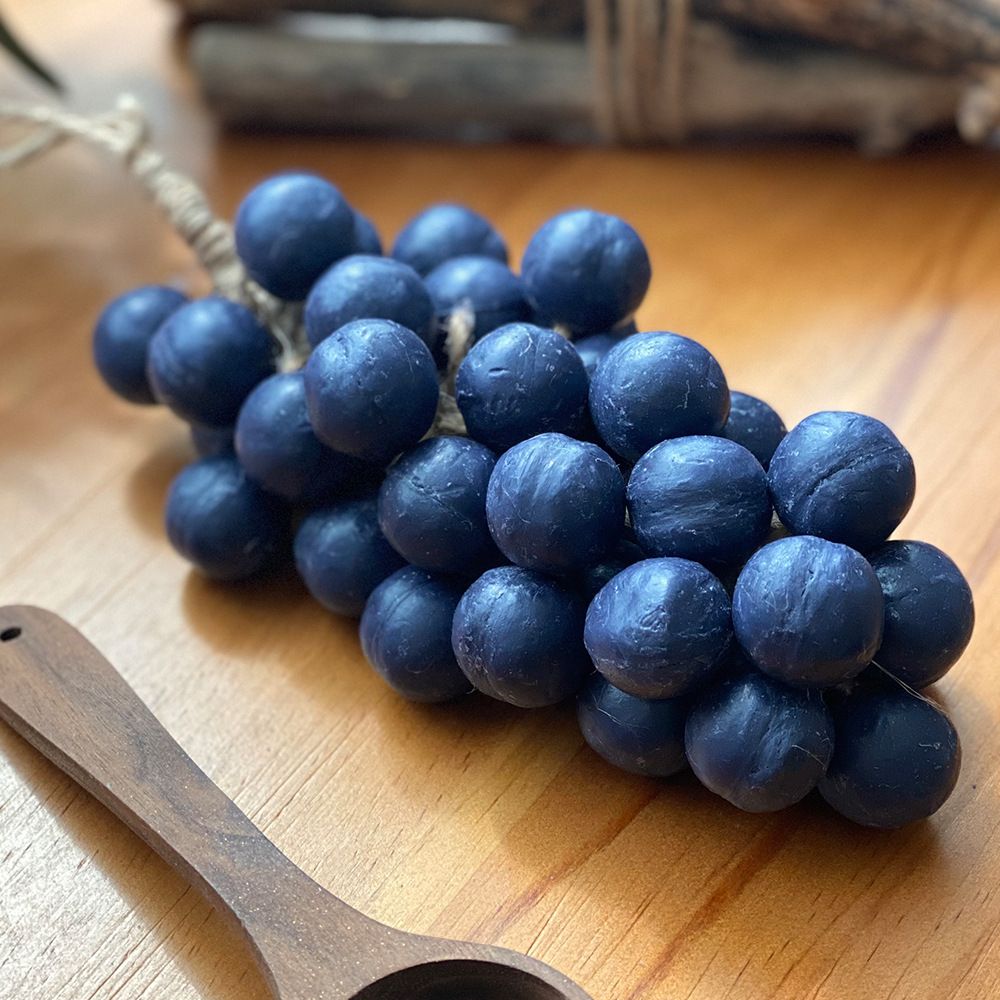
Want to own a gentle, skin-friendly, yet deeply cleansing product? The answer might be hidden in your own kitchen. Amino acid soap has become a skincare favorite for sensitive and dry skin due to its mildly acidic and non-irritating properties. Making your own amino acid soap not only ensures pure ingredients but also allows you to customize the perfect formula for your skin type.
But you might not know that the method for making "amino acid soap" is different from traditional "handmade soap." This article will reveal the secret behind this process and provide a simple, safe DIY amino acid soap guide, so you can easily make it at home.
Before You Start: Understanding the Two Types of Amino Acid Soap
Before we dive into how to make amino acid soap, it’s important to distinguish between two different product types:
Cold Process Soap (Saponification Soap): This is a "soap" in the traditional sense, made by a saponification reaction between oils and a lye solution (sodium hydroxide). While you can add some amino acid ingredients (like silk amino acids) to this type of soap, its primary cleansing power comes from fatty acid sodium. This process involves a dangerous strong alkali and is not recommended for beginners to do at home.
Amino Acid Surfactant Cleansing Bar: This is the true form of most amino acid soaps on the market. It contains no lye and uses pre-made amino acid surfactants (e.g., SCI powder, SCG powder) as its cleansing core. This method is much safer and more suitable for a home DIY project.
This guide will focus on the second type: how to make an amino acid surfactant cleansing bar. This process is more like "melting and molding" than a complex chemical reaction.
DIY Amino Acid Cleansing Bar: A Simple "Melt and Mold" Guide
This recipe contains no lye, making it safer to create, and the finished product can be used almost immediately. It will give you a gentle cleansing bar that produces a rich lather.
Materials and Tools Needed:
Amino Acid Surfactants:
SCI Powder (Sodium Cocoyl Isethionate): A very gentle coconut fatty acid ester that provides a rich foam. This is a core ingredient.
SCG Powder (Sodium Cocoyl Glutamate): Another mild amino acid surfactant that helps improve foam texture.
Oils and Humectants:
Plant-based Oils or Butters: Cocoa butter, shea butter, or coconut oil to provide moisture and hardness.
Glycerin: A natural humectant to increase the bar's moisturizing properties.
Hydrosol or Distilled Water: To help dissolve the ingredients.
Other Optional Ingredients:
Herbal Powders: Green tea powder, kaolin clay, activated charcoal powder for additional benefits or color.
Pure Essential Oils: Lavender, tea tree oil, etc., for fragrance and aromatherapy benefits.
Tools:
Digital scale
Heat-resistant container (like a stainless steel bowl or glass beaker)
Spatula or stirring stick
Molds (silicone or plastic)
Mask and gloves (for handling powders)
Instructions:
Safety First: Put on a mask and gloves. SCI powder is very fine, and inhaling it can cause discomfort.
Prepare Ingredients: Accurately weigh all solid ingredients (SCI powder, SCG powder, butters, etc.).
Water Bath: Place the heat-resistant container into a pot with hot water to create a water bath. First, add the oils and glycerin to melt them.
Mix Powders: Slowly add the SCI and SCG powders in small batches to the melted oils, stirring continuously with a spatula or stick. This step requires patience, as the mixture will become very thick. Ensure all powders are fully mixed with no clumps.
Add Extras: Once the mixture is uniform, remove it from the water bath. After it cools slightly, add your hydrosol or distilled water, and your chosen herbal powders or essential oils. Stir until everything is evenly blended.
Pour into Molds: Pour the mixture into your prepared molds. Press it down with a spatula to ensure there are no air bubbles.
Cool and Set: Place the molds in the refrigerator or let them sit at room temperature for a few hours until they are completely hard.
Unmold and Use: Once the cleansing bar is completely hard, you can remove it from the mold. Since it contains no lye, there's no need for a curing period, and you can use it right away.
Customize Your Own Amino Acid Soap
The fun of DIY is customization. You can adjust the recipe to suit your needs:
For Oily Skin: Add activated charcoal powder or tea tree essential oil to help control oil and purify pores.
For Dry Skin: Increase the proportion of shea butter or glycerin for a more powerful moisturizing effect.
For Sensitive Skin: Choose gentle essential oils like chamomile or lavender, and avoid irritating ingredients.
Conclusion
Making your own amino acid soap is more than just a fun DIY project; it's a responsible way to care for your skin. This gentle, safe method for making a homemade amino acid cleanser allows you to say goodbye to the dryness and tightness of traditional soaps and enjoy a pure, natural, and customized skincare journey.
Are you ready to try making your own amino acid soap?


