⚠️ Step I: Safety First!
When working with any handmade soap, the use of Lye (Caustic Soda, or NaOH) must follow strict safety protocols.
Essential Protection: Always wear safety goggles, gloves, and long sleeves.
Ventilation: Work in a well-ventilated area to avoid inhaling the fumes produced by the lye solution.
Dilution Rule: Always pour the lye slowly into the water (Lye into water, not the other way around). Never pour water into the lye, as this can cause a violent eruption.
II. Phase I: Creating the Cold Process Base
This stage is similar to making standard cold process soap, aiming to complete the saponification reaction.
🧑🔬 Basic Materials (Example Recipe; always use a professional saponification calculator for adjustments):
Hard Oils: Coconut Oil, Stearic Acid, or Palm Oil, to provide hardness and lather.
Soft Oils: Castor Oil, Olive Oil, or Jojoba Oil, to enhance transparency and moisturization.
Water / Distilled Water
Lye (NaOH)
🧼 Brief Steps:
Prepare Lye Water: Weigh the water and lye. In a ventilated area, slowly pour the lye into the water and stir until dissolved. Set aside to cool.
Melt Oils: Heat and melt the hard and soft oils in a slow cooker (Crockpot) or double boiler and mix.
Mix: When the temperatures of the oils and the lye water have cooled to the temperature required by your recipe (usually between $100^\circ\text{F}$ - $130^\circ\text{F}$, or $40^\circ\text{C}$ - $55^\circ\text{C}$), pour the lye water into the oils.
Blend to Trace: Use an immersion blender to mix until you reach a Light Trace—where the soap batter starts to thicken and a drizzle leaves a temporary mark on the surface.
Cook: Cover the pot and allow the soap to continue heating in the slow cooker for a few hours until the soap enters the Gel Phase and saponification is complete.
III. Phase II: The Solubilizing and Transparency Process
This is the critical step that transforms regular soap into transparent soap by adding extra solvents.
🧪 Solvents and Additives for Transparency:
High-Proof Alcohol: Such as vodka or 99% Isopropyl Alcohol, used to dissolve the soap body and maintain clarity.
Glycerin: Extra added glycerin increases transparency and moisturizing properties.
Sugar Solution: Melted sugar mixed with distilled water helps with transparency and boosts lather.
🔥 Dissolving Steps:
Cool Down: Ensure the base soap is fully saponified and has cooled slightly.
Add Solvents: Weigh and pour in the alcohol and extra glycerin. Cover the pot and continue heating (usually kept on a Low or Warm setting). The soap body may break down into granules or a jelly-like mass, which is normal.
Continuous Stirring and Dissolving: Continue heating and stirring until the soap body completely dissolves into a clear, jelly-like liquid. This process can take anywhere from 30 minutes to 2 hours and requires patience.
Add Sugar Water: Slowly add the dissolved sugar solution and stir until uniformly mixed.
Rest and Degas: Turn off the heat and let the liquid soap settle. Surface bubbles will gradually disappear. You can spray alcohol to help eliminate surface bubbles.
Scent and Color (Optional): If desired, add heat-resistant essential oils and soap colorants at this stage.
Pour and Cure: Pour the hot, clear liquid soap into your molds. Once cooled and solidified, unmold and allow to air dry.
IV. 💡 Tips for Success
Castor Oil is Key: Castor oil is indispensable in the basic recipe as it significantly enhances the soap's transparency.
Seal Immediately: Transparent glycerin soap tends to "sweat" (attract moisture from the air), so once it is solidified and unmolded, wrap it tightly in cling film or a plastic sealed bag for storage.
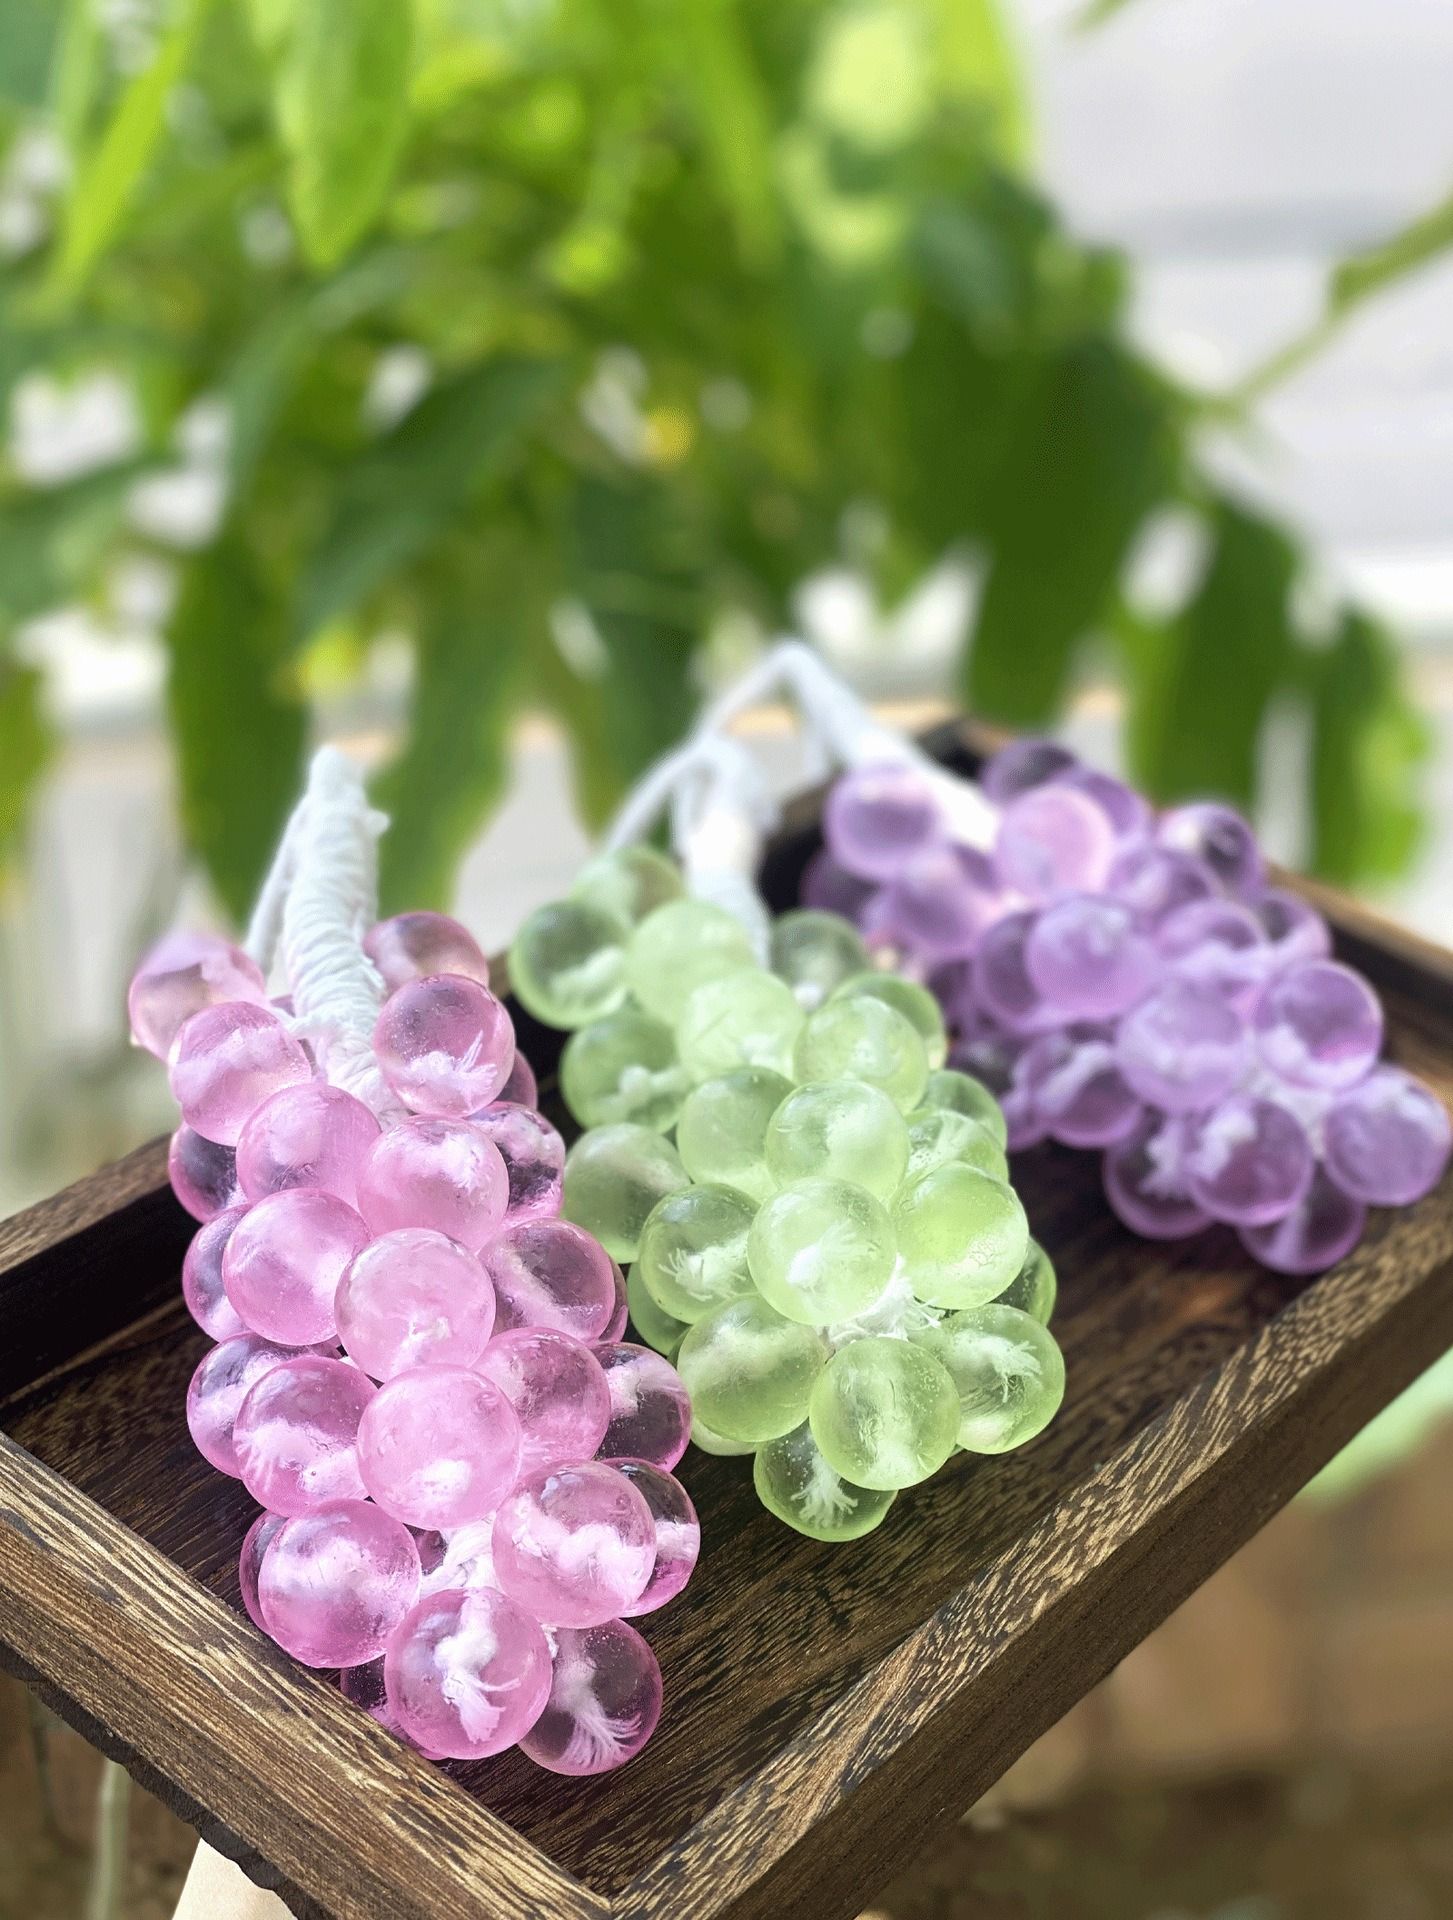
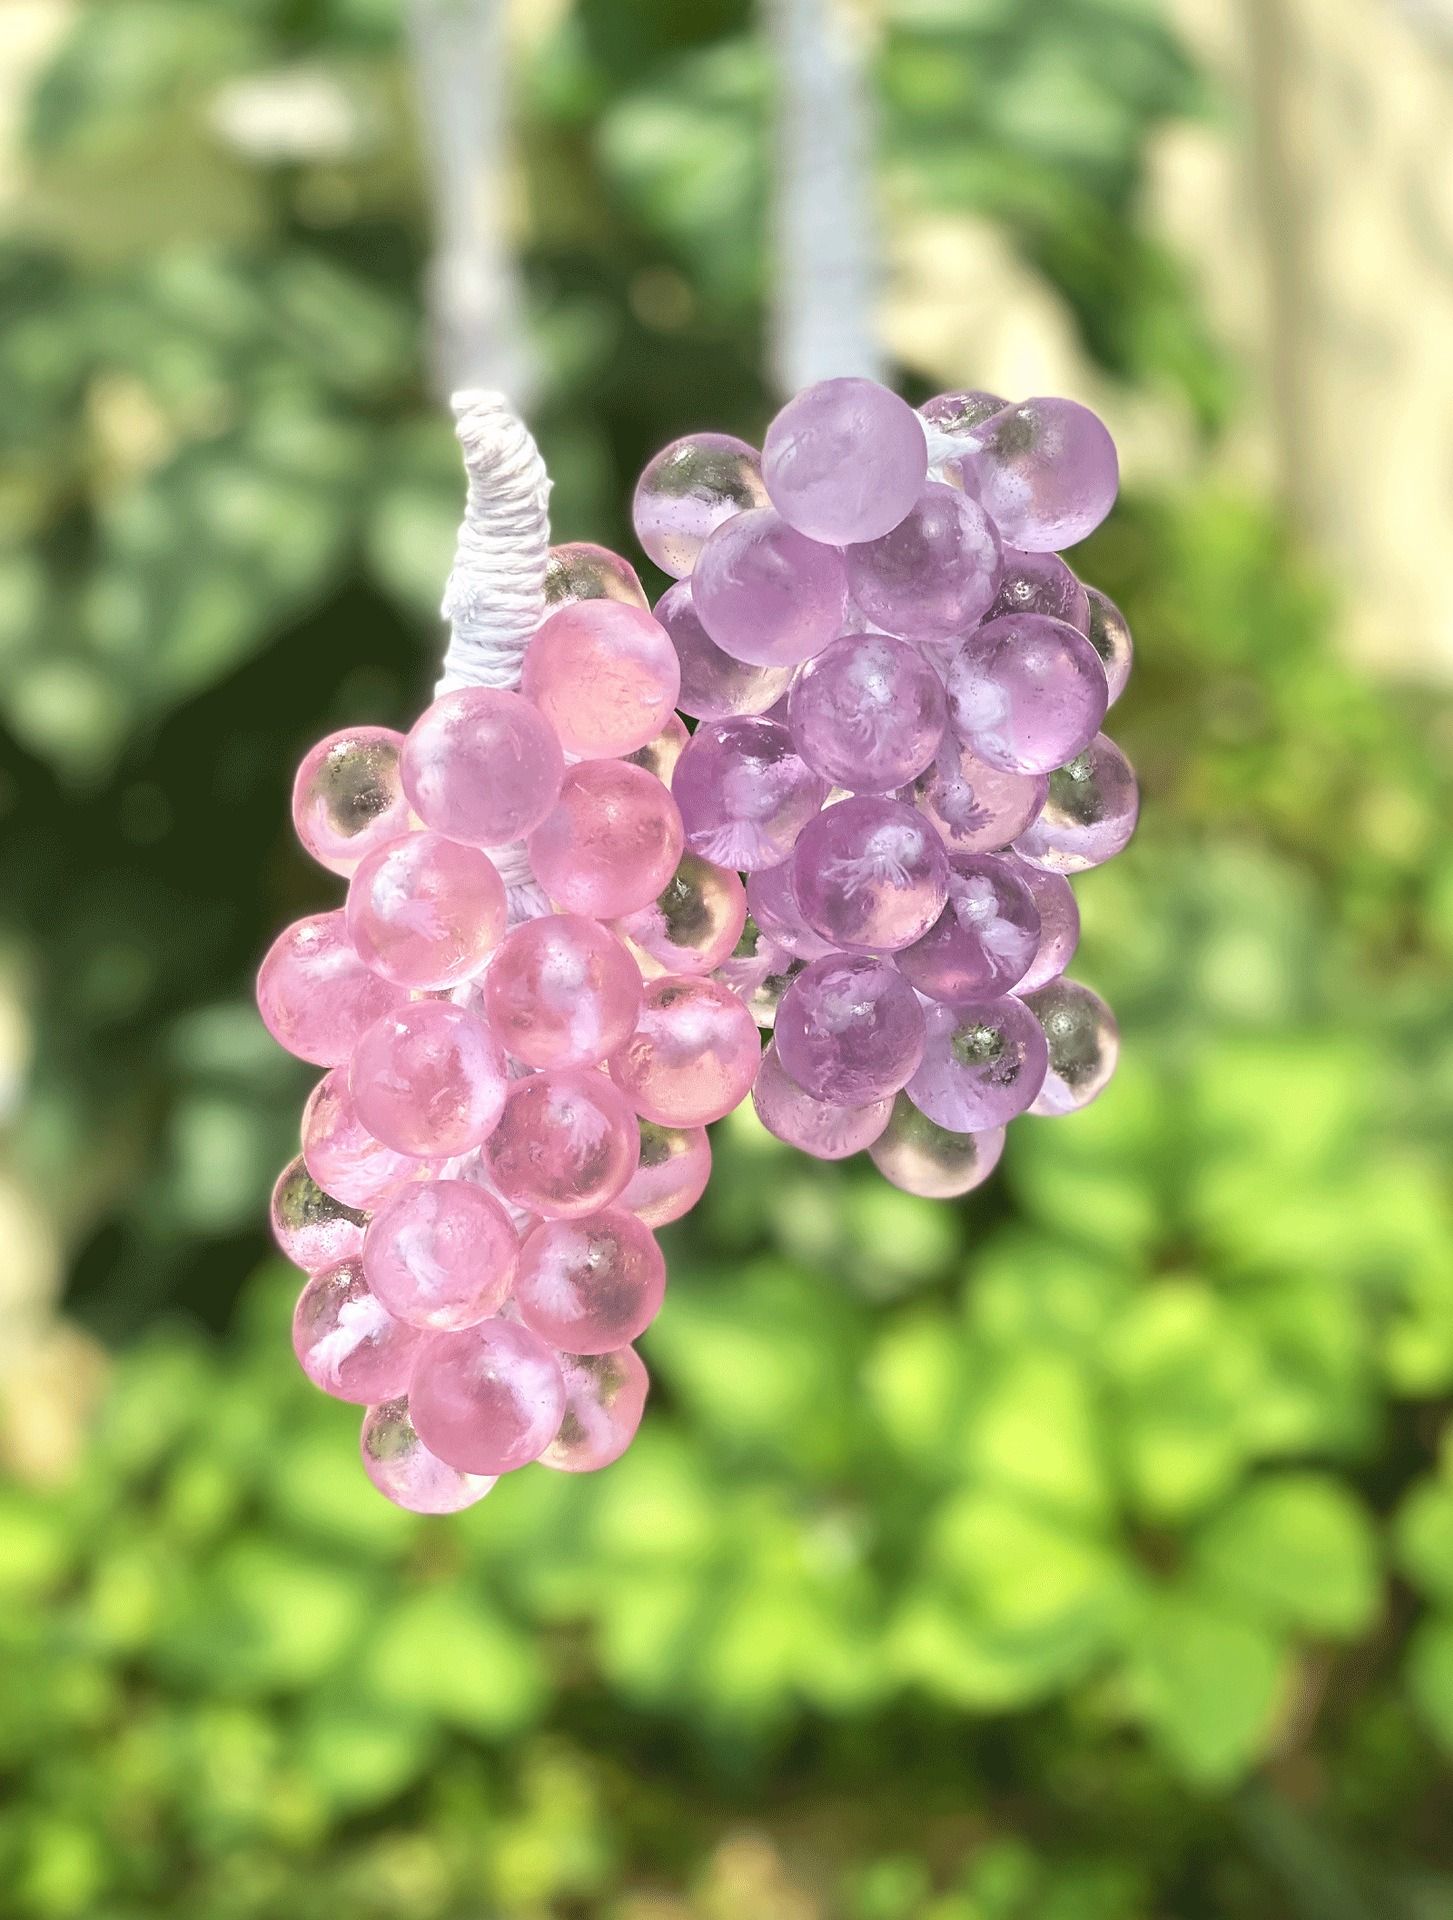
Making Handmade Cold Process Glycerin Soap is a challenging but very rewarding process. By following the safety steps and using a precise recipe, you can create your own unique, crystal-clear Handmade Cold Process Glycerin Soap!
Would you like me to search for a specific, verified Cold Process Glycerin Soap recipe, or provide you with some common troubleshooting tips for making transparent soap?


